
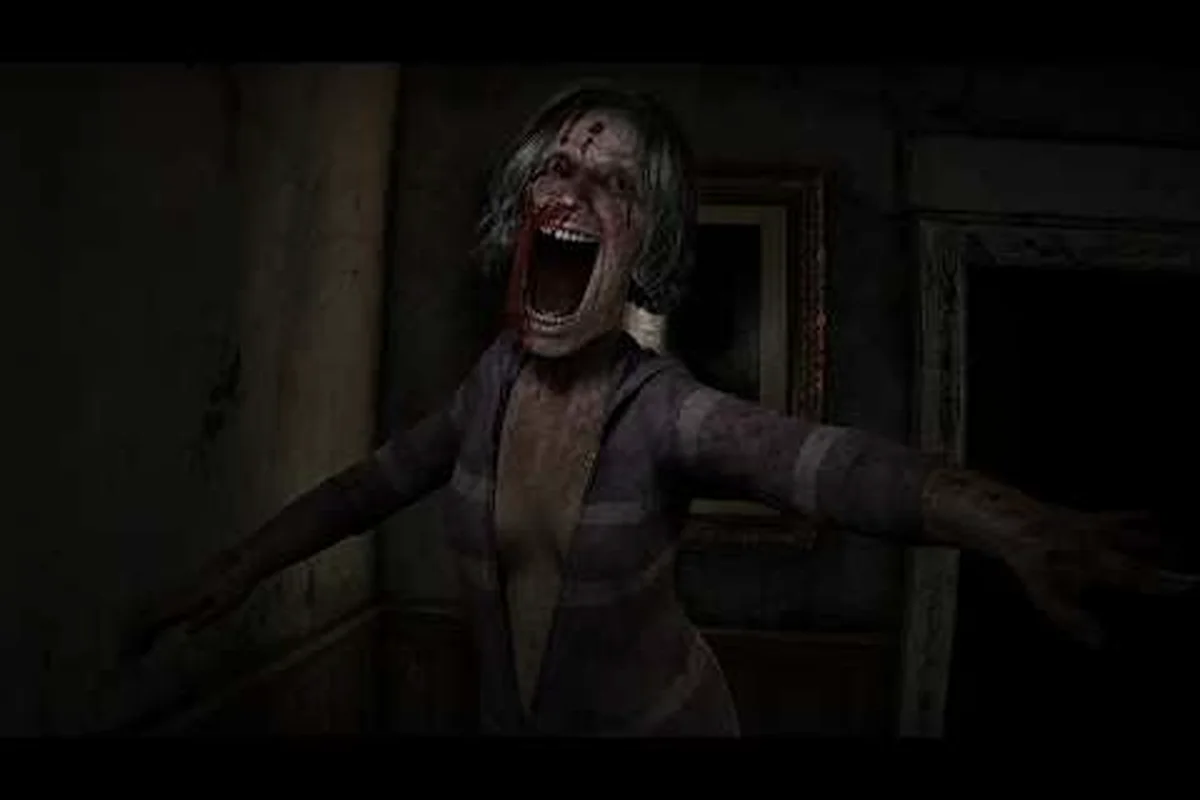
Rehaunted is a first-person psychological detective horror game where every door depends on what you have already proven. This Rehaunted full walkthrough treats the house as a single, evidence-gated route, so the path through the prologue, mid-game chapters, and finale reads like a clean investigation log rather than a series of backtracks. Detective Connor Raines only moves forward once the evidence board shows a confirmed link, which means the route below is also a defensive read of the puzzle gating, the clue locations, and the pacing that keeps the seven-to-nine-hour run moving without spinning its wheels.
How Rehaunted's evidence-gated route actually works
The core design of Rehaunted is that the house does not open up like a Metroidvania; instead, the rooms unlock as a consequence of your evidence board. Connor picks up a UV flashlight, a magnifier, a camera, a walkie-talkie, and a portable evidence board, and each tool ties directly to a gating check. When you photograph a blood splatter, scan a fiber on a doorknob, or cross-reference two diary entries on the board, the game flags a new rule on the lock. Community testing reported by early players on the Steam hub describes this as "you only get a key when the case file says you should," which lines up with the in-game prompts that explicitly name the required piece of evidence.
This is why a Rehaunted complete walkthrough reads less like a list of fetch quests and more like a checklist of what the board needs to confirm before the next room will physically respond. The house itself is a single location, but the route is split into five investigative phases plus a finale, and the gating creates the illusion of progression without ever leaving the front yard.
Tool loadout and what each one actually does
The five tools are your only interface with the world, and each one has a specific role in the gating system. Players who skip the magnifier on a piece of evidence will see a soft prompt telling them to come back, which is the game's way of forcing a complete check before it opens the next door.
| Tool | Primary use | Where it first matters | Common gating role |
|---|---|---|---|
| UV flashlight | Reveals hidden residue on walls and fabrics | Hallway, first floor | Confirms suspect movement patterns |
| Camera | Captures high-detail evidence for the board | Bedroom, second floor | Logs photos that later unlock doors |
| Magnifier | Reads micro-text on objects | Study desk drawer | Decodes diary entries and notes |
| Walkie-talkie | Contacts dispatch for case context | Patrol car, prologue | Pulls in outside intel to corroborate |
| Evidence board | Connects A to B with a red string | Connor's trunk | Confirms a link and opens a lock |
The five investigative phases at a glance
Rehaunted structures the single house into five short investigative phases plus a finale. The pacing is deliberate: you are meant to spend roughly 60 to 90 minutes per phase, with the finale running shorter because the evidence is already on the board. The breakdown below is a Rehaunted step by step walkthrough compressed into a planning table so you can see where each phase starts and what you need to finish it.
| Phase | Approx. length | Starting trigger | Main evidence focus | Exit condition |
|---|---|---|---|---|
| Prologue | 45-60 min | Arrive at the house | Establish the case | First diary entry on the board |
| Phase 1 | 60-75 min | Front door unlocks | Ground floor sweep | Master bedroom accessible |
| Phase 2 | 75-90 min | Bedroom door opens | Second floor and study | Attic ladder lowers |
| Phase 3 | 60-80 min | Attic reachable | Roof and hidden crawlspace | Basement hatch unlocks |
| Phase 4 | 70-90 min | Basement opens | Final clue set | All evidence linked |
| Finale | 30-45 min | Evidence complete | Confrontation | Credits |
Prologue: arriving at the house and opening the case file
The Rehaunted full game walkthrough begins in Connor's patrol car, parked across from a house that has been taped off after a death that does not yet have a name. The walkie-talkie crackles, dispatch confirms the call, and the first investigative action is a quick scan of the front yard with the UV flashlight. The light picks up a faint drag mark leading from the curb to the porch, which is the first piece of evidence the case file will require.
Connor exits the car, walks to the trunk, and opens the evidence board. The board starts empty except for a placeholder reading "victim unknown." From this point, every move inside the house is a check against that empty board, and the prologue is short because the game wants you to understand the rule before it tests you on it. The prologue ends when the first diary entry is photographed and pinned to the board, which the camera does automatically once you frame the page in the study.
Key clue locations in the prologue
-
UV drag mark on the front walkway, visible only at night
-
Open front door with a small scuff near the handle
-
Answering machine message on the kitchen counter
-
Wallet on the hallway table, ID partially obscured
Common gating traps in the prologue
New players tend to rush past the answering machine because it looks like flavor text. It is not. The voice on the tape references a specific time and a specific second person, and that combination is what unlocks the bedroom door two phases later. Slowing the prologue down to a 45-to-60-minute read is the single biggest pacing win in a Rehaunted complete walkthrough, because the rest of the run inherits that discipline.
Phase 1: ground floor sweep and the first locked room
Phase 1 opens with the front door finally responding to your keycard-style evidence check. The ground floor is dense with interactable objects, and the magnifier earns its keep on the first nightstand you check, where a date stamp on a prescription bottle decodes into the timeline you will need to log the victim's last week. The kitchen, the living room, and the small bathroom off the hall are all reachable in this phase, and each one hides at least one item that the evidence board will demand.
The phase ends when the master bedroom door accepts the combination of three confirmed entries: the prescription date, the answering machine timestamp, and the fiber sample from the doorknob. The camera is the workhorse here because every successful photo flashes a soft white border on the board, which is the visual confirmation that the link has been accepted.
Phase 1 clue checklist
| Clue | Location | Tool required | Board role |
|---|---|---|---|
| Prescription bottle | Kitchen nightstand | Magnifier | Confirms timeline |
| Answering machine tape | Kitchen counter | None (audio log) | Confirms alibi gap |
| Doorknob fiber | Hallway, near bedroom | UV flashlight + magnifier | Confirms suspect touched door |
| Torn photograph | Living room drawer | Camera | Confirms relationship |
Pacing notes for Phase 1
The ground floor rewards slow walking. Players who sprint past the living room drawer miss the torn photograph, and the bedroom door will not open until that photo is pinned. Community reports describe a 60-to-75-minute phase when played cleanly, and a two-hour phase when players backtrack to find missed items, which is the difference between a clean Rehaunted step by step walkthrough and a frustrated one. If you are stuck, check the evidence board for any entry that still has a yellow outline, because yellow means the link is incomplete and the lock will stay closed.
For a broader look at how the tool loadout fits into the rest of the case file, the Rehaunted game guide 2026 breaks down the early game in more detail.
Phase 2: the second floor, the study, and the attic ladder
Once the master bedroom is open, Phase 2 begins with a short cutscene that establishes Connor's emotional stake in the case. The second floor is quieter than the ground floor, which is the game's way of signaling that the puzzle density is about to peak. The study is the centerpiece: a desk with three locked drawers, a wall of framed photos, and a small reading chair with a half-burned candle. Every drawer requires a different evidence link, and the wall of photos is a red herring until you realize that one frame is hung slightly crooked, which the magnifier reveals as a hidden key.
The attic ladder lowers only after the study desk is fully cleared, which means the phase ends with a vertical transition rather than a horizontal one. The pacing is tighter here, around 75 to 90 minutes, because the upstairs layout is more linear and the puzzle gating is less forgiving. If you miss a drawer, the ladder will not lower, and you will walk in circles until you backtrack.
Phase 2 clue checklist
| Clue | Location | Tool required | Board role |
|---|---|---|---|
| Hidden key | Crooked photo frame, study | Magnifier | Unlocks top desk drawer |
| Burned letter | Reading chair, study | UV flashlight | Confirms motive |
| Children's drawing | Upstairs hallway, floor | None (visual) | Confirms second victim present |
| Locked diary | Top desk drawer | Camera + magnifier | Confirms escalation pattern |
Pacing notes for Phase 2
The second floor punishes players who try to brute-force the desk. Each drawer is gated by a separate board link, and the links only resolve when the evidence is photographed in the correct order. A clean Rehaunted no commentary walkthrough style of play, where you sweep each room left to right and pin every item before moving on, is the fastest path through this phase. Players who skip the children's drawing in the hallway will find the attic ladder stays raised, because the drawing is the corroborating evidence that the diary needs before it will accept its link.
Phase 3: the attic, the roof access, and the basement hatch
The attic is short on square footage and long on atmosphere. The roof access hatch sits behind a stack of boxes, and the basement hatch is hidden under a rug at the far end of the attic floor. Both are gated, but the roof hatch requires a photo of the exterior damage while the basement hatch requires a sound recording captured on the walkie-talkie. This split is intentional: the game wants you to commit to one path before the other opens, which keeps the pacing from collapsing into a single overwhelming sequence.
The phase runs 60 to 80 minutes, which is the shortest of the mid-game because the attic itself is a corridor rather than a hub. The real work is the board work that happens between the roof and the basement, because each path adds a separate cluster of evidence that the finale will need to resolve.
Phase 3 clue checklist
| Clue | Location | Tool required | Board role |
|---|---|---|---|
| Roof damage photo | Outside hatch | Camera | Confirms entry point |
| Walkie-talkie recording | Attic vent | Walkie-talkie | Confirms second voice |
| Basement rug edge | Far attic corner | UV flashlight | Confirms hidden hatch |
| Torn page, basement diary | Under rug | Magnifier | Confirms final link |
Pacing notes for Phase 3
Players who try to do both paths in parallel tend to get confused, because the board treats them as a sequence. A clean Rehaunted step by step walkthrough reads top-down: roof first, board check, basement second, board check. The walkie-talkie recording is the trickiest item because the attic vent requires you to hold the device at a specific angle for about ten seconds, and most players give up before the timer completes. If the vent reads as silent, the recording has not actually saved, and the basement hatch will not respond.
Phase 4: the basement, the final clue set, and the locked finale
The basement is the densest room in the house. It is also the last investigative phase before the finale, and the game packs the remaining evidence into a tight loop of interconnected clues. The pacing here is deliberately slower, around 70 to 90 minutes, because the board needs every remaining link to be confirmed before the finale door will open. The basement contains a workbench, a wall of jars, a small locked cabinet, and a single overhead light that flickers when Connor is close to a confirmed link.
The phase ends when the board shows zero yellow outlines, which is the visual signal that every entry has been accepted. At that point, a door that was previously wallpapered over reveals itself, and the finale begins. Players who reach this point with a clean board report a finale runtime of 30 to 45 minutes, while players who still have unresolved links report being trapped in the basement for an extra hour.
Phase 4 clue checklist
| Clue | Location | Tool required | Board role |
|---|---|---|---|
| Jar labels | Basement shelf | Magnifier | Confirms chemical presence |
| Workbench notes | Workbench drawer | Camera | Confirms preparation |
| Locked cabinet key | Under floorboard | UV flashlight | Confirms hidden storage |
| Final photograph | Cabinet interior | Camera | Closes the case file |
Pacing notes for Phase 4
The basement rewards players who have been disciplined about pinning evidence in earlier phases. If the board is messy, the finale door will not open, and you will spend time walking the basement loop looking for an item you already photographed. A Rehaunted complete walkthrough that treats the board as the source of truth, rather than the rooms, will exit Phase 4 cleanly and enter the finale without backtracking. For a parallel take on clean-exit pacing, the Rehaunted speedrun guide covers how fast players push the evidence gating in practice.
Finale: closing the case and what the route leaves behind
The finale is a short, scripted sequence that the evidence board has already set up. Connor walks through the revealed door, confronts the truth of the case, and the game rolls credits. There is no combat and no extended chase, which is a deliberate design choice that keeps the horror psychological rather than mechanical. The finale is also the cleanest place to review the route, because every clue you collected has a place on the board, and the board itself is the final image before the credits.
A Rehaunted full walkthrough that ends here leaves the player with a seven-to-nine-hour run, a fully resolved case file, and a clear sense of why the house unlocked in the order it did. The route is repeatable because the evidence gating is deterministic, which means a second playthrough can be planned as a clean sweep without the discovery friction of a first run. If you want to push for every collectible on a return visit, the Rehaunted completionist guide covers the missable items that this walkthrough intentionally leaves for a follow-up run.
What a clean route actually looks like
The table below summarizes a clean, evidence-gated run from prologue to credits. The numbers come from community playthroughs reported on the Steam community hub, where players describe a 7-to-9-hour total runtime when the board is kept current after every clue.
| Phase | Evidence links required | Avg. minutes | Common failure mode |
|---|---|---|---|
| Prologue | 1 | 45-60 | Skipping the answering machine |
| Phase 1 | 4 | 60-75 | Missing the torn photograph |
| Phase 2 | 4 | 75-90 | Brute-forcing the study desk |
| Phase 3 | 4 | 60-80 | Giving up on the vent recording |
| Phase 4 | 4 | 70-90 | Board not clean before finale |
| Finale | 0 (board complete) | 30-45 | N/A |
Frequently Asked Questions
How long is the Rehaunted full walkthrough from start to finish?
A clean Rehaunted full walkthrough runs about 7 to 9 hours, with a prologue of 45 to 60 minutes, four mid-game phases of 60 to 90 minutes each, and a finale of 30 to 45 minutes. Backtracking from missed clues can add another 1 to 2 hours, which is why the route above treats the evidence board as the source of truth and exits each phase with zero yellow outlines.
Do I need to find every clue to finish the Rehaunted complete walkthrough?
No. The Rehaunted complete walkthrough is solvable with roughly 17 confirmed evidence links, which is the threshold the finale door requires. Several optional clues exist for lore and for specific achievements, but the core route gates on a smaller subset, and the checklist above covers exactly what the finale demands.
Is the Rehaunted step by step walkthrough the same on a second playthrough?
Yes, the Rehaunted step by step walkthrough is deterministic. The evidence gating does not randomize, the clue locations do not shift, and the finale door opens under the same condition every run. A second playthrough can be planned as a clean sweep with no discovery friction, which is also why a Rehaunted no commentary walkthrough video can match a written route beat for beat.
Can I follow a Rehaunted no commentary walkthrough if I am playing the game for the first time?
A Rehaunted no commentary walkthrough is a strong reference for a first run because it shows the route without spoiling the case file interpretation. The pacing cues in this written guide are designed to match that style: sweep each room left to right, pin every item before moving on, and exit each phase with a clean board. Players who follow that pattern report a 7-to-9-hour first run with no soft locks.
Where can I verify the official tool list and case structure used in this walkthrough?
The official tool list, the house layout, and the prologue framing are documented on the Cauchemar publisher profile on Steam, which is the authoritative source for the loadout and the basic case structure used throughout this Rehaunted full walkthrough.