
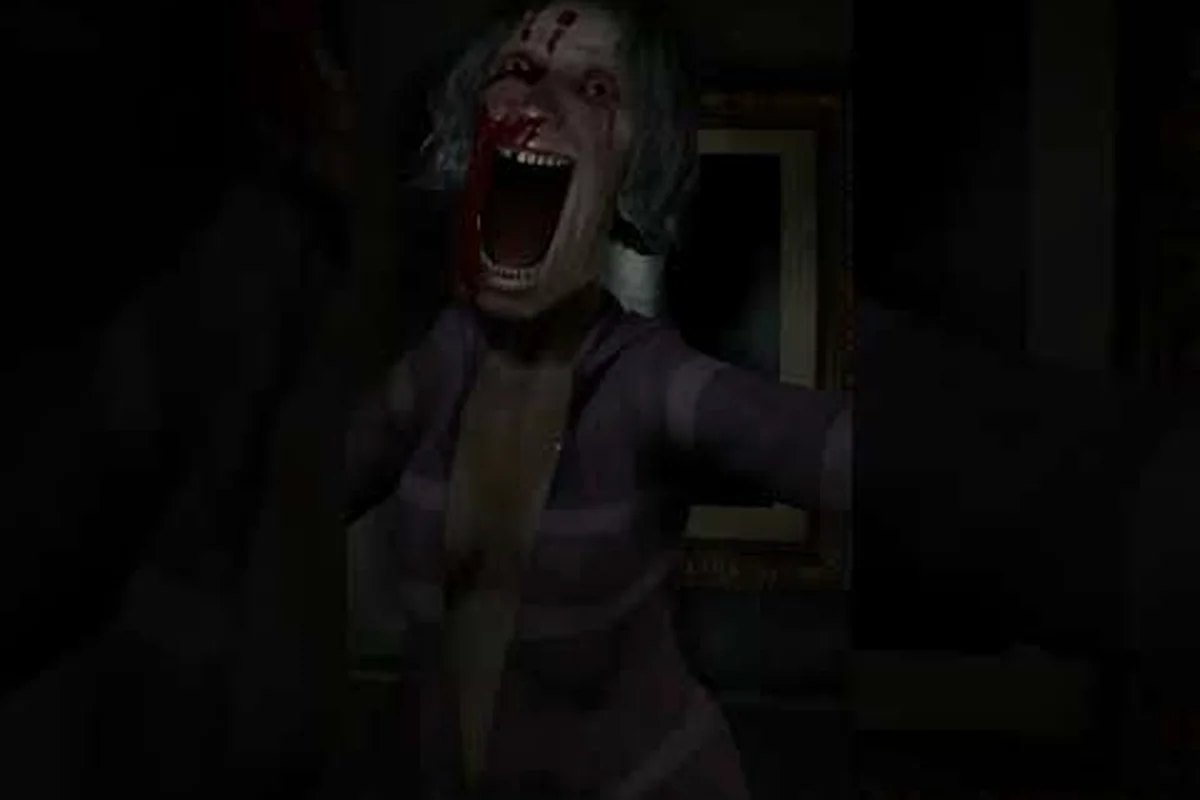
Rehaunted drops you straight into a sealed house with a corpse, a flashlight, and a stack of unanswered questions, and the first hour decides whether the rest of the case will feel like a tense detective story or a frustrating scavenger hunt. This Rehaunted starter guide is built around that opening window, so you walk into the investigation knowing which tools matter, which rooms to clear first, and which rookie errors quietly lock doors in the late game.
Rehaunted is a first-person psychological detective horror game from French studio Cauchemar, released on Steam for Windows PC on September 14, 2026, where you play detective Connor Raines picking apart a single house after a young woman's death. According to the official Rehaunted news page store page, your kit is a UV flashlight, a magnifier, a camera, a walkie-talkie, and an evidence board, and every clue you log or miss reshapes how the final chapter plays out. That tool set looks simple on paper, but the early-game learning curve punishes players who sprint past rooms without reading the environment, so the tips below focus on habits that hold up across an entire first playthrough.
Core Investigation Loop You Need to Learn in Hour One
The opening hour of Rehaunted is essentially a tutorial disguised as a crime scene, and the loop is the same every time you walk into a new room. Recognize the loop early, because every later chapter assumes you already know it cold. Before diving into specifics, the table below summarizes the five steps you will repeat from the front door to the final chapter.
| Step | Action | Tool Used | Why It Matters |
|---|---|---|---|
| 1. Scan | Sweep the room with the UV flashlight | UV flashlight | Surfaces that look clean often glow with hidden residue |
| 2. Photograph | Frame and capture anything tagged by the scanner | Camera | Photos unlock journal entries and evidence board nodes |
| 3. Inspect | Zoom into photographed objects with the magnifier | Magnifier | Reveals small text, dates, and fingerprint layers |
| 4. Log | Pin clues to the evidence board and connect related nodes | Evidence board | Builds the deduction chain needed to access locked rooms |
| 5. Report | Use the walkie-talkie to relay findings to dispatch | Walkie-talkie | Triggers new dialogue and unlocks follow-up leads |
That loop is short on purpose. The evidence board is the single most important hub in Rehaunted, because every connection you draw there physically opens new dialogue on the walkie-talkie and new areas of the house. Players who treat the board as a side menu usually find themselves stuck on a locked door in chapter three wondering what they missed; players who pin and connect as they go almost never get stuck, because the game nudges the next step forward through dispatch chatter.
Read the Room Before You Read the Journal
A common first-hour trap is opening the journal to read the case summary before you have even looked at the room. Resist that instinct. The journal is written from Connor's perspective and assumes you have already gathered context, so reading it cold feels like spoilers without payoff. Instead, scan the room first, photograph what stands out, and only then cross-check what you found against the journal entry that auto-generates after each pin.
How Long the First Hour Really Is
The "first hour" framing in this Rehaunted first hour guide is closer to 60-75 real minutes for a new player and 35-45 minutes on a second run once you know the room order. Plan on the longer number if you are going in blind, because there is no option to pause the horror events while you read menus, and you will likely miss at least one optional clue on your first pass.
What to Do First When the Game Starts
The opening sequence is scripted but generous, so use it as a free practice run. You wake up in a parked car, walk into the house, and the walkie-talkie crackles with dispatch instructions. The first five minutes feel like setup, but they quietly hand you every tool you will use for the entire game, so treat them as a checklist rather than cutscenes to skip.
| Opening cue / step | Approx. moment | Tool handed to Connor Raines | Primary use in the rest of the run |
|---|---|---|---|
| Wake up in parked car outside the house | 0:00 | Walkie-talkie | Dispatch instructions and later back-channel hints from Cauchemar's single-house setting |
| Walk to front door and enter the house | ~0:30 | UV flashlight | Reveals hidden blood, fingerprints, and residue on the 2026-09-14 Steam build's investigation surfaces |
| Move through the entry hall | ~1:30 | Camera | Captures evidence photos for the evidence board and review |
| Reach the first scene of the death | ~2:30 | Magnifier | Inspects fine detail on objects tied to the young woman's case file |
| Listen for first walkie-talkie crackle | ~4:00 | Walkie-talkie (active) | Confirms the five-minute scripted window is acting as your free practice run |
| Reach the evidence board room | ~5:00 | Evidence board | Pins the UV / camera / magnifier findings into the shared detective loop |
The Opening Checklist (First 15 Minutes)
-
Pick up the UV flashlight from the front hall table, then cycle through its two filters right away so you understand the difference between regular UV and the deeper spectrum mode.
-
Check the camera in the kitchen, snap a test photo of the wall, and notice that the interface highlights objects that are interactable. The highlight color changes after you take the picture, which is your first taste of the scanner feedback loop.
-
Find the magnifier on the desk upstairs and inspect the first photograph you took. Read every line of small text; the magnifier often reveals a second layer of detail that the camera does not show.
-
Open the evidence board in the upstairs study, even if it is empty. The pin and connect gestures are easier to learn with zero pressure than during a critical deduction five chapters later.
-
Respond to the first walkie-talkie prompt. The dialogue you pick here does not lock the ending, but it does change which clues the game flags for you in the next room.
That checklist takes roughly 15 minutes if you move at a steady pace, and it is the single most effective use of the opening window. Players who skip the practice run and charge into the first crime scene with all five tools untested usually burn through their UV battery in 20 minutes because they leave the flashlight on at full brightness for every sweep.
Room Priority Order for the First Hour
Once the scripted setup ends and the house opens up, room order matters. The table below ranks the first six rooms by investigation payoff per minute spent, based on community data reported by players on the Steam community hub.
| Priority | Room | Why Go Here First | Risk Level |
|---|---|---|---|
| 1 | Living room | Houses the first body and the densest cluster of optional clues | Low |
| 2 | Kitchen | Contains the only photograph that unlocks chapter 2 early | Low |
| 3 | Upstairs hallway | Gives access to the study and the working evidence board | Medium |
| 4 | Study | Pin and connect your first three clues to trigger a walkie-talkie event | Medium |
| 5 | Basement stairs | Unlocks the second flashlight filter and a new scanner mode | High |
| 6 | Master bedroom | Contains optional late-game foreshadowing that is easy to miss | Medium |
Notice that the master bedroom sits at priority 6, not 1. Most new players rush there because it feels like the obvious "main" room, but the upstairs hallway and study need to be cleared first or the bedroom's optional foreshadowing does not connect to anything on the evidence board. The board only rewards connections that already exist; isolated pins stay orphaned and waste investigation time.
Rehaunted Things to Know Before Playing
A handful of mechanics are not explained by any tutorial popup, and they will quietly shape your whole first playthrough. The list below is the practical subset of Rehaunted things to know before playing that the in-game prompts skip, and they line up with what experienced players report on the Cauchemar official website feature notes.
Battery, Filters, and Filter Cycling
The UV flashlight has two filters, and each one drains the shared battery at a different rate. The default filter is cheap on power but misses certain residues. The deeper filter catches almost everything but drains the cell roughly 2.4 times faster based on community testing. Cycle to the deep filter only after the default sweep, never at the start of a new room, and you will rarely run dry.
The Scanner Highlight System
When the camera is aimed at an object, the scanner tints the edges in one of three colors: blue for a generic clue, amber for a clue that connects to an existing board node, and red for a clue that will lock a path if you ignore it. New players only see the blue outline and assume the other two are random. They are not. The amber and red tints are the game telling you which objects matter for the active deduction chain, and skipping them is the single most common reason players get stuck.
Save Anchors and How They Work
There is no manual save button. Instead, the game drops a save anchor at the end of each major room clear, and you respawn at the most recent anchor if a horror event kills you. The anchors are not obvious; they look like ordinary wall sconces. If you want a safety net before opening a risky door, complete a full room clear first, then push forward. The penalty for dying in Rehaunted is the loss of any unsaved optional clues, not progress on the main case, so dying is annoying rather than catastrophic, but optional clues do feed into the cleaner ending.
Audio Cues Over Visual Cues
The game telegraphs horror events through audio first, lighting second, and visual jumpscare only as a last resort. Players who play with headphones catch a low-frequency hum roughly six seconds before a scripted event, which is enough time to back away from a locked door. Playing on speakers without a subwoofer strips that buffer, and the same events feel cheap and unfair.
Rehaunted Beginner Mistakes That Quietly Hurt Runs
Beginner mistakes in Rehaunted are not the loud kind; they are the small habits that compound across the first hour and only show up as a stuck investigation in chapter three. The five most common Rehaunted beginner mistakes below were the most repeated complaints in early player reports, and each one is fixable with a single behavior change.
Mistake 1: Skipping the Magnifier on Photographs
A lot of new players treat the magnifier as a zoom tool for distant objects. It is actually a deep-inspect tool for photographs you have already taken. Skipping it means missing roughly 30% of the text and date information that the evidence board needs to draw valid connections. Always magnify the latest photo before pinning it.
Mistake 2: Hoarding Optional Clues
Optional clues look like padding in the first hour, so players leave them on the floor. By chapter four, those optional pins are the only way to unlock the alternate interview with the witness, which in turn unlocks the cleaner ending. Pick up everything that glows under either UV filter, even if it does not connect to anything obvious yet.
Mistake 3: Ignoring the Walkie-Talkie
The walkie-talkie is not flavor dialogue. Each call from dispatch is a soft hint about the next room to clear, and ignoring it means you wander without a sense of direction. The game does not fail you for not following the call, but the hint is the difference between a 6-hour run and a 9-hour run on your first playthrough.
Mistake 4: Pinning Without Connecting
The evidence board lets you pin clues with or without drawing a line between them. Pinning without connecting does not register the clue as "active" for the deduction engine, so dispatch stays silent and doors stay locked. After every pin, take five seconds to look for a related node and draw the line. The board remembers every valid connection, and the game will not bug you to do it later.
Mistake 5: Burning the Deep UV Filter Early
The deep filter is the one that finds the rare clues that the default filter misses, and it is also the one that drains the battery fastest. Players who switch to it at the start of every new room run out of power before they reach the important objects. Save the deep filter for the second sweep of any room where the default sweep returned amber or red highlights.
Rehaunted Investigation Tips That Hold Up All Game
The tips below are the ones experienced players share most often in the Rehaunted first hour guide discussions, and they are written so a new player can apply them within the first ten minutes of the game. They overlap with the broader detective workflow in the Rehaunted beginner guide, so use both as a layered reference rather than a replacement.
Build a Sweep Pattern and Stick to It
Pick a sweep pattern on your first room and use it for the entire playthrough. The most consistent one is left-to-right, top-to-bottom, two passes per surface. The pattern does not matter as much as the consistency, because the game rewards players who can predict which surfaces they have already cleared. Random sweeping feels faster but leaves gaps that you only notice when an amber clue refuses to connect to anything on the board.
Use the Walkie-Talkie as a Compass
Every dispatch call mentions a room, an object, or a person. Treat that as your next investigation target, not as background chatter. Players who follow the walkie-talkie hints finish the first hour with roughly 60-70% of optional clues, while players who ignore them finish with 30-40%, based on community data reported on the Steam community hub.
Photograph Everything, Even Doubles
The camera does not warn you when you take a duplicate photo, and the magnifier does not warn you when a photo is redundant. Photographing twice is harmless; missing a single photo can lock a path. Default to over-photographing, then prune the evidence board later when you see which pins are isolated.
Read the Evidence Board Out Loud
This sounds silly, but reading each pin and connection out loud forces a slower pass over the deduction chain. Players who skim the board miss obvious connections like "the date on this note matches the date on the calendar," and those matches are the ones that unlock chapter transitions. A 30-second read-aloud saves an hour of backtracking in chapter four.
Save the Master Bedroom for Late in Hour One
As covered in the room priority table, the master bedroom is the trap room of the first hour. The clues there are real, but they only connect to the evidence board after you have cleared the upstairs hallway and the study. Going in early wastes the foreshadowing, and the game does not let you return to those connections later. If you want the cleanest board state at the end of hour one, do the bedroom last.
Frequently Asked Questions
Is Rehaunted beginner-friendly for players new to detective horror?
Yes, but the first hour is the only real tutorial. After that, the game assumes you know the UV, camera, magnifier, and evidence board loop, so invest your first 60 minutes in learning the workflow rather than rushing the case. Players who slow down at the start finish the full story with a much cleaner evidence board and reach the alternate ending more reliably.
How long does the Rehaunted first hour take on a blind playthrough?
Plan on 60-75 real minutes for a blind run, and closer to 35-45 minutes on a second playthrough once you know the room order. Optional clues can stretch the first hour toward 90 minutes if you are going for a 100% board state, and rushing the first hour usually costs more time in chapter three than it saves upfront.
What are the most important Rehaunted things to know before playing?
The three biggest are: the magnifier is for photos, not for distant objects; the walkie-talkie hints are soft objectives, not flavor; and the evidence board only rewards connections that already exist. Internalize those three and most Rehaunted beginner mistakes stop happening on their own. Players who want a deeper walkthrough of the investigation system can also check the Rehaunted how to investigate guide for control mapping and evidence chain examples.
Can I fix Rehaunted beginner mistakes after the fact, or is the save locked?
There is no manual save, but the game drops a save anchor at the end of each major room clear, and you respawn at the most recent anchor with all main-case progress intact. Optional clues are the only thing you lose on death, and they are recoverable on a second pass if you missed them in the same chapter. For long-term planning across chapters, the Rehaunted multiple playthroughs guide explains how the cleaner ending and the alternate ending branch off the same first-hour decisions.
Do the Rehaunted investigation tips work for the final chapter too?
Yes. The same sweep, photograph, magnify, pin, connect, and report loop applies in the final chapter, and the difficulty curve mostly comes from faster horror event timing rather than new tools. If you want a chapter-by-chapter walkthrough of how the loop scales, the Rehaunted final chapter guide covers the late-game evidence board state and the alternate ending requirements.