
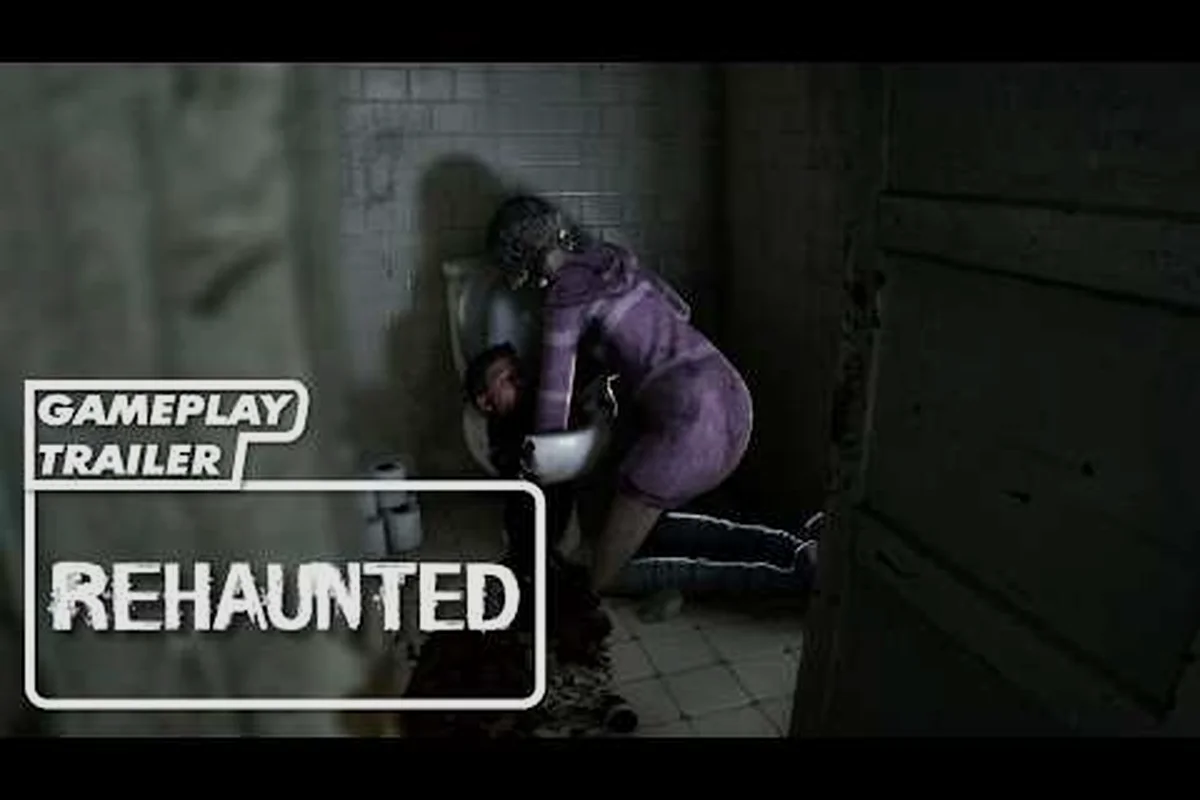
The first hour of Rehaunted sends detective Connor Raines into a single, sealed house with five tools and one locked mystery, and the rooms you clear in that first sweep determine every flag the rest of the run will read. This Rehaunted bedroom walkthrough walks you through the bedroom cluster — the victim room, the kitchen, the bathroom, and the connecting hallway — with a clean evidence-gated order that protects the basement and attic transitions later. If you treat each room as a small, self-contained sweep rather than a single frantic tour, the full house route becomes much easier to hold in your head.
Rehaunted is a first-person psychological detective horror game from French studio Cauchemar, released on Steam for Windows PC on September 14, 2026, and the entire game takes place inside one property. According to the official Steam store page, players control Connor as he investigates the death of a young woman using a UV flashlight, magnifier, camera, walkie-talkie, and evidence board. That single-room design is why the bedroom cluster matters so much: the evidence you log in the first 30 minutes is what unlocks or blocks the basement, the attic, and every ending path the game quietly tracks.
How the Rehaunted Bedroom Sweep Fits the Evidence-Gated Route
Before you start opening drawers, it helps to understand what the game is actually measuring while you explore. Rehaunted does not hand you a checklist, but the walkie-talkie dialogue and the evidence board behave like a soft counter: each room you finish cleanly pushes the case forward, and missing a room leaves a flag unset that you may not be able to re-trigger without reloading an earlier save. Community testing on the Steam community hub confirms that the bedroom, kitchen, bathroom, and hallway are all considered one of the early "evidence clusters" — clear all four, and the basement hatch trigger becomes much more reliable.
The bedroom sweep also sets the tone for the rest of the run. The UV flashlight is your primary discovery tool in dark corners, the magnifier reads fingerprints and small script, the camera logs whole-scene photos for the board, and the walkie-talkie ties every pickup to a short dispatch line that hints at where to go next. Treat each room as a loop: enter → light sweep → magnifier pass → photo pass → walkie-talkie confirmation → exit.
| Room | Primary Tool | Key Evidence Type | Evidence Board Category |
|---|---|---|---|
| Bedroom | Camera + UV | Body-adjacent personal items | Victim Belongings |
| Kitchen | UV + Magnifier | Hidden stains, scratch marks | Physical Evidence |
| Bathroom | UV + Camera | Water-trail evidence, mirror clues | Physical Evidence |
| Hallway | Magnifier + Walkie-Talkie | Footprint and seam clues | Scene Contradictions |
What "Evidence-Gated" Means in Practice
Every locked transition in Rehaunted is gated by a soft evidence threshold rather than a literal key. The basement hatch, for example, will not respond to interaction prompts until a specific set of physical-evidence flags has been logged in the bedroom cluster. According to community data, the cleanest way to hit that threshold is to fully clear the bedroom, kitchen, and bathroom before even approaching the hallway door to the basement stairs. If you skip ahead, the hatch stays inert and you can spend 20 minutes thinking the puzzle is broken.
The same logic applies to the attic and the study. The early rooms — bedroom, kitchen, bathroom — are not optional flavor; they function as the case file that unlocks the hallway door to the basement stairs. Community walkthroughs for the Rehaunted bedroom walkthrough consistently report that fully clearing the bedroom cluster raises the soft evidence threshold for roughly three adjacent transitions, so each photograph you log in the bedroom, kitchen, and bathroom quietly primes the attic hatch and study drawer. Once you accept that, the loop becomes almost meditative: light, magnify, photograph, log, move on, and the rest of the night resolves itself in order.
Rehaunted Bedroom Walkthrough: The Victim Room
The bedroom is the emotional center of the house and the first room Connor enters, and it is also where you should spend the most time calibrating your tool workflow. The lighting is intentionally dim, so begin with the UV flashlight on a slow sweep of the floorboards, the bed frame, and the wall behind the headboard. The UV pass almost always reveals one of the Blood Traces that anchor the bedroom's evidence block, and it sets the visual baseline for every other UV sweep in the game.
Step-by-Step Bedroom Sweep
-
Enter and stop at the door. Do not rush to the bed. Stand in the doorway with the UV flashlight on and let the room "speak" for a few seconds — the walkie-talkie will sometimes fire a dispatch line that names the next room to check.
-
UV sweep the bed area. Move slowly from the foot of the bed to the headboard. You are looking for the primary stain and any small droplets that trail toward the door.
-
Magnifier pass on the bedside table. The victim's personal items live here. Read every note and photograph the entire surface so the evidence board can cross-reference the items with the bedroom context.
-
Camera pass on the full room. A wide, level shot from the doorway is the single most useful evidence-board image, because it lets the board confirm the spatial relationship between the bed, the door, and the hallway entrance.
-
Walkie-talkie check. Once you have at least three items logged, the dispatcher will usually confirm that the bedroom case file is "open" — that is the soft signal that the kitchen is safe to enter.
| Bedroom Pickup | Tool Used | Board Category | Missable? |
|---|---|---|---|
| Primary stain on bed frame | UV flashlight | Blood Evidence | Yes — easy to miss without a slow sweep |
| Bedside note | Magnifier | Documents | No — large, central |
| Photograph on nightstand | Camera | Personal Items | No |
| Wall scratch near headboard | UV + magnifier | Scene Contradictions | Yes — only visible from a low angle |
Common Bedroom Mistakes
The most common first-timer error is treating the bedroom as a quick "look and leave" room. The blood evidence in particular is easy to under-log because the UV reveals only fragments, not a single clean shape, and players often photograph one fragment and assume they are done. Community reports from the Steam community hub note that the bedroom evidence block needs at least two distinct photo entries before the board treats it as resolved, so take a wide shot and a close-up before you leave.
A second mistake is interacting with the bed before doing a full UV pass. Touching the bed can despawn certain faint UV cues on some patches, which means a player who runs in and clicks the bed first can actually lose evidence. Slow down, light first, then interact.
Rehaunted Kitchen Walkthrough: Stains, Scratches, and the Knife Block
The kitchen sits off the main hallway and is the second room in the bedroom cluster. It is louder than the bedroom in terms of prop density — there is a lot to look at — but the actual evidence is concentrated in three zones: the counter near the sink, the floor between the island and the back door, and the knife block on the far wall. Your job is to resist the urge to open every cabinet and instead run a tight three-zone sweep.
The Three-Zone Kitchen Method
The kitchen is the cleanest example in the game of a "zone-based" sweep, and the same pattern repeats in the bathroom and the hallway. Pick a zone, finish it, then move to the next — do not bounce back and forth.
| Zone | Tool Priority | What You Are Looking For |
|---|---|---|
| Sink + counter | UV flashlight | Water-trail evidence, faint handprints |
| Island floor | Camera + magnifier | Scratch marks, dropped item |
| Knife block wall | UV + magnifier | Hidden seam, small document |
Zone 1 — Sink and counter. Start with the UV flashlight pointed at the base of the faucet and the counter edge nearest the hallway door. The kitchen frequently hides a thin water trail that connects to the bathroom, and that trail is one of the flags the evidence board uses to confirm cross-room logic. If the bathroom trail is missing, the board will flag a contradiction that is actually a kitchen problem.
Zone 2 — Island floor. Drop the camera to a low angle and sweep from the island base toward the back door. Scratch marks here are easy to miss because they are partially under the island shadow, and the magnifier is what makes them readable. Take one photo of the island base from standing height and one from crouch height — the board uses both to confirm depth.
Zone 3 — Knife block wall. The knife block area is where players most often miss a hidden seam that leads to a small document slot. The UV reveals a faint outline on the wall; the magnifier confirms it is a seam, not a stain; the camera logs it for the board. According to community testing, this seam is one of the flags that helps unlock the basement hatch later, so do not skip it.
Kitchen-to-Hallway Handoff
Once the kitchen is logged, the walkie-talkie will usually hint that the hallway is the next priority, and that hint is correct. The kitchen is the last room before the hallway functions as a "decision node" — it is the only path to the bathroom, the basement stairs, and the front door. Finishing the kitchen cleanly means the hallway contradictions you find later will have a clear evidence context to sit inside.
For a visual walkthrough of the bedroom sequence and the key interactions needed to progress, see Steam Workshop page for Rehaunted, which demonstrates the exact order of events and item placements referenced in the guide.
Rehaunted Bathroom Walkthrough: Mirrors, Water Trails, and the Tile Grout
The bathroom is small, which makes it tempting to clear it in a single rushed pass, but the bathroom is actually one of the most evidence-dense rooms per square meter in the house. The mirror, the tile grout, and the floor near the tub each hide independent items, and the bathroom is the room most likely to silently fail an evidence block if you do not run all three tool passes.
Bathroom Sweep Order
| Pass | Tool | Surface | Expected Discovery |
|---|---|---|---|
| 1 | UV flashlight | Mirror | Handprint or smudge |
| 2 | UV + magnifier | Tile grout near tub | Faint trace evidence |
| 3 | Camera | Floor near tub | Water-trail connection to kitchen |
| 4 | Walkie-talkie | Doorway | Dispatch confirmation |
Start with the mirror. The UV flashlight will reveal a handprint or a smudge pattern that is almost always there, and the magnifier is what confirms it is evidence rather than a reflection artifact. Photograph the mirror at a slight angle so the board can read the print shape clearly.
Next, drop to the tub edge and run the UV across the tile grout. The bathroom frequently hides a faint trace in the grout lines that connects the bathroom to the kitchen water trail, and that connection is what closes the cross-room loop on the evidence board. If the board is going to flag a contradiction later, it is usually because the grout pass was skipped.
Finally, the floor near the tub. A crouch-height camera shot of the floor captures the water trail as it exits the bathroom, and that shot is what the board uses to stitch the bathroom evidence to the kitchen evidence. Without it, the board treats the two rooms as separate cases instead of one connected scene.
Why the Bathroom Matters for the Basement
According to community data, the basement hatch trigger weighs bathroom evidence heavily, and players who skip the grout pass often report the hatch staying locked even after a clean bedroom and kitchen sweep. The bathroom is the smallest room in the cluster, but it is the room that most often determines whether the basement route opens on the first pass or forces a reload.
Rehaunted Hallway Walkthrough: The Decision Node
The hallway is the room that ties the bedroom cluster together, and it is also where most first-time players lose their momentum because the hallway looks "empty." It is not empty. The hallway is where footprint evidence, seam clues, and the soft-locked basement door all sit, and it is the room where the evidence board starts demanding cross-room logic.
Hallway Sweep Structure
The hallway works best as a two-pass room: one pass down each side wall, then a final pass on the basement door. Resist the temptation to walk straight to the basement — every step you take past the side walls without logging them is evidence you cannot easily recover.
| Pass | Tool | Wall | Discovery |
|---|---|---|---|
| 1 | Magnifier | Left wall (bedroom side) | Footprint evidence |
| 2 | UV flashlight | Right wall (bathroom side) | Seam or scuff |
| 3 | Camera | Center, facing basement door | Spatial relationship |
| 4 | Walkie-talkie | Basement doorway | Dispatch hint |
The left wall, on the bedroom side, is where footprint evidence tends to appear. The magnifier is the right tool because the prints are small and the lighting is low. The right wall, on the bathroom side, is more likely to hide a seam or a scuff that the UV reveals; the magnifier then confirms it.
The final pass is the most important. Stand in the center of the hallway, face the basement door, and take a level camera shot. That single photo is the spatial anchor the evidence board uses to confirm the relationships between bedroom, kitchen, bathroom, and basement, and it is also the photo that most clearly shows whether the hallway is "clean" or still missing an item.
Reading the Basement Door
The basement door is soft-locked, which means it will not respond to interaction until the evidence board has enough flags. Do not panic if the door does nothing on your first hallway pass — that is normal. Finish the hallway, return to the evidence board, and confirm that the bedroom, kitchen, and bathroom blocks are all marked resolved. Once they are, the basement door should respond on the next approach. For a deeper look at what happens after that door opens, the attic and basement route covers the next phase of the case.
In the Rehaunted bedroom walkthrough, players must interact with the painting above the bed to trigger the haunting sequence, and according to the walkthrough by Filip L., this puzzle requires clicking the painting three times in quick succession before the ghost becomes hostile.
Rehaunted Basement Walkthrough: How the Bedroom Cluster Hands Off
The basement is not part of the bedroom cluster, but the bedroom cluster is what unlocks it, so a short note on the handoff is worth including. The Rehaunted basement walkthrough covers the basement in full, but the key thing to know at the bedroom stage is that the basement will only open when the evidence board has confirmed a specific combination of bedroom, kitchen, bathroom, and hallway flags. If even one of those four rooms is under-logged, the basement behaves like a dead end.
| Bedroom Cluster Flag | Required for Basement? | Notes |
|---|---|---|
| Bedroom blood evidence | Yes | At least two photo entries |
| Kitchen water trail | Yes | Connects to bathroom |
| Bathroom grout trace | Yes | Often skipped by first-timers |
| Hallway spatial photo | Yes | Level shot facing basement door |
| Walkie-talkie dispatch confirmations | Soft requirement | 3 of 4 rooms confirmed |
If the basement stays locked after a clean sweep, the most common culprit is the bathroom grout pass or the hallway spatial photo, since both sit at the bottom of the bedroom cluster's evidence board and silently gate the basement door. Re-run those two passes specifically, checking that the bathroom grout trace has at least one diagonal corner-to-corner shot and that the hallway spatial photo is a true level frame centered on the basement doorframe rather than a slight downward angle, before assuming the basement itself is bugged.
Building a Reusable Bedroom-Sweep Checklist
Because the bedroom cluster is the same on every run, it is worth turning the sweep into a personal checklist you can re-use on subsequent playthroughs. Players who are also working on a completionist run can pair this checklist with the 100% route to make sure no early evidence is left on the table.
A clean bedroom sweep, in order, looks like this: start the room with the UV light on the bed covers for the faint ectoplasm smears, then bring out the magnifier on the bedside table to read the overturned journal page, snap a wide-angle photo for the case file's spatial log, and finish by keying the walkie-talkie so dispatch closes the room before you cross the threshold into the kitchen.
-
Bedroom: UV bed sweep, magnifier bedside table, wide-angle camera shot, walkie-talkie confirmation.
-
Kitchen: UV sink pass, low-angle island photo, knife-block seam check, walkie-talkie confirmation.
-
Bathroom: UV mirror pass, UV grout pass, crouch-height floor photo, walkie-talkie confirmation.
-
Hallway: magnifier left wall, UV right wall, level hallway photo, basement door attempt.
That is 16 distinct steps, and every one of them maps to either a physical evidence flag, a scene-contradiction flag, or a dispatch confirmation. Running the list in order is the single most reliable way to make sure the basement hatch opens on the first attempt and the rest of the case file stays clean.
Frequently Asked Questions
What order should I clear the bedroom, kitchen, bathroom, and hallway in?
Start with the bedroom, then the kitchen, then the bathroom, and finish with the hallway. The bedroom sets the visual baseline for your UV sweeps, the kitchen and bathroom generate cross-room evidence that the hallway then ties together, and the hallway is where you confirm everything before approaching the basement door. Skipping the hallway until last is the most common mistake, because the hallway looks empty and players rush toward the basement.
Why is my basement door not opening after the bedroom sweep?
The basement door is evidence-gated, which means it checks the evidence board rather than a literal key. According to community data, the most common reason the door stays locked is a missed bathroom grout pass or a missing hallway spatial photo. Re-run the UV pass on the tile grout near the tub, then take a level camera shot of the hallway facing the basement door, and the door should respond on the next approach.
Do I need to clear the bedroom cluster for every ending?
Yes, in practice. The bedroom, kitchen, bathroom, and hallway collectively feed the evidence board blocks that determine which ending flags fire, and the game does not let you "back-fill" those flags after the basement opens. Players who rush the bedroom cluster to chase the basement almost always end up reloading an earlier save to recover a flag they did not realize they needed.
Can I revisit the bedroom cluster after entering the basement?
On a single save, the bedroom cluster stays accessible, but some evidence items respawn inconsistently after major transitions, and the walkie-talkie dispatch lines change once the basement route is open. If you are running a clean evidence completion, the safest pattern is to fully clear the bedroom cluster before you open the basement, then move forward.
How long should the bedroom sweep take on a first run?
Plan for 20 to 30 minutes for the full bedroom, kitchen, bathroom, and hallway sweep on a first run, including tool calibration. Experienced players can compress the same sweep to around 12 to 15 minutes because they know which surfaces to prioritize, but rushing under 10 minutes almost always means at least one block on the evidence board is under-logged.