
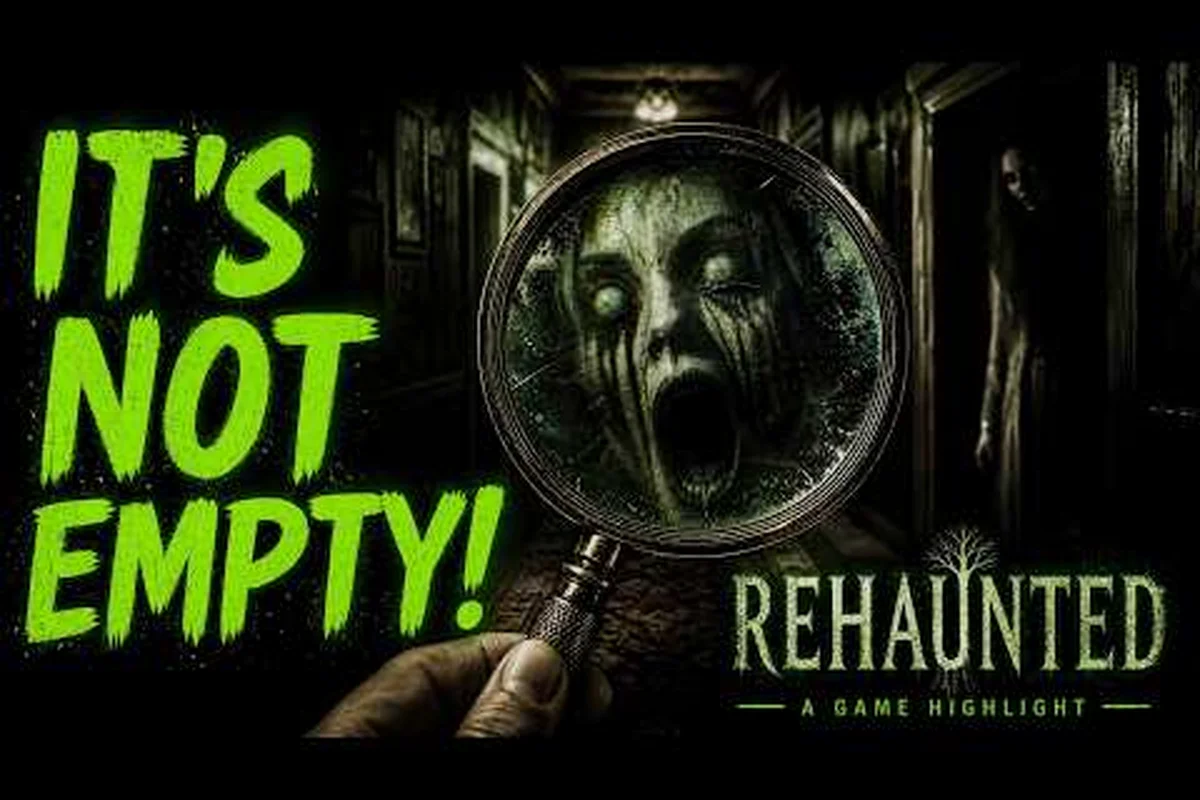
The Rehaunted mission list runs on an evidence-gated route through a single haunted house, so the next room always depends on the clue you just logged on the evidence board. This guide maps every case beat, the room that triggers it, and the finding that unlocks the next stop on the investigation. Players who treat the case as a checklist rather than a free-roam tour will move through the Rehaunted story walkthrough without retracing their steps or stalling on locked doors.
How the Rehaunted Mission List Works
The detective horror game from French studio Cauchemar, released on Steam for Windows PC on September 14, 2026, structures its entire investigation inside one house. Detective Connor Raines cannot enter a new room until the evidence board accepts a previous finding, which means the Rehaunted mission list behaves less like a chapter select and more like a flowchart. According to the Cauchemar as Steam publisher, the game ships without an official chapter menu, so the route below is reconstructed from the in-game evidence prompts and community testing reported by players.
Core Tools Used in Every Case Beat
Connor carries a fixed loadout for the entire investigation, and each tool feeds a specific type of finding into the board. Understanding the tool-evidence pairing is the first step toward any Rehaunted how to progress plan, because the wrong tool silently fails to register a clue.
| Tool | Primary Use | Evidence Type Logged |
|---|---|---|
| UV Flashlight | Reveals hidden writing and fluids on surfaces | Chemical and trace residue |
| Camera | Documents supernatural anomalies on film | Visual anomalies |
| Magnifier | Examines physical objects at close range | Physical and printed evidence |
| Walkie-Talkie | Contacts dispatch and external characters | Testimonial evidence |
| Evidence Board | Connects findings and unlocks the next room | Case progression |
The Evidence-Gated Progression Rule
Each room on the Rehaunted mission list contains exactly one gating finding. The evidence board treats that finding as a permission token, and the next room stays locked until the token is logged. Community testing reported by players on the Steam community hub suggests the gating is strict: a wrong-room visit simply shows a locked prompt with no hint, which is why a room-by-room reference matters. Players who want a parallel breakdown organized by in-game segment rather than evidence gate can cross-reference the chapter list walkthrough for a chapter-based view of the same route.
The Full Rehaunted Mission List Room by Room
The Rehaunted mission list is short in count but dense in findings, so every room below lists the gating clue, the tool that surfaces it, and the next room the evidence board opens. Room names follow the community labels reported on the Steam community hub, since Cauchemar has not published a chapter map.
| Order | Room | Gating Evidence | Tool | Next Room Unlocked |
|---|---|---|---|---|
| 1 | Front Porch | Police Report on the door | Walkie-Talkie | Foyer |
| 2 | Foyer | Torn Letter inside the umbrella stand | Magnifier | Living Room |
| 3 | Living Room | UV Writing on the wallpaper | UV Flashlight | Kitchen |
| 4 | Kitchen | Burned Recipe Card on the counter | Magnifier | Dining Room |
| 5 | Dining Room | Anomaly Photo of the chandelier | Camera | Hallway |
| 6 | Hallway | Child's Drawing under the runner rug | Magnifier | Bathroom |
| 7 | Bathroom | Blood Residue on the mirror | UV Flashlight | Master Bedroom |
| 8 | Master Bedroom | Journal Page under the pillow | Magnifier | Attic |
| 9 | Attic | Tape Recording on the reel-to-reel | Walkie-Talkie | Basement |
| 10 | Basement | Anomaly Photo of the boiler | Camera | Conclusion |
Front Porch and Foyer (Rooms 1-2)
The investigation begins on the Front Porch, where dispatch reads Connor a police report about a young woman's death inside the house. Logging that report through the walkie-talkie opens the Foyer, which contains the first physical clue of the case. According to the official Cauchemar studio website, this early stretch is designed to teach the tool-evidence pairing, so players should not skip the Foyer magnifier prompt even if they suspect the next room.
Living Room, Kitchen, and Dining Room (Rooms 3-5)
The middle of the Rehaunted mission list is the UV and camera gauntlet, which is also the stretch where most players stall. The Living Room's UV Writing is invisible without the UV flashlight active, and the Dining Room's chandelier anomaly only triggers the camera at a specific angle. Players who want a second look at this section can compare pacing with the chapter 2 walkthrough, which expands on the same evidence beats with annotated screenshots from community playtests.
Hallway, Bathroom, and Master Bedroom (Rooms 6-8)
The back half of the house leans heavily on testimonial and physical evidence, because the magnifier and walkie-talkie take over from the UV flashlight. The Hallway runner rug hides a child's drawing that links two earlier clues, while the Master Bedroom journal page reframes the entire case. This is also the section where the Rehaunted how to progress question shifts from "which room" to "which interpretation of the evidence," because the board now offers multiple valid connections.
Attic and Basement (Rooms 9-10)
The Attic tape recording is the last testimonial clue and the most expensive one to log, since the reel-to-reel requires a short interaction. The Basement boiler photo is the final anomaly, and the evidence board uses it to assemble the conclusion rather than to open a new room. The Basement does not unlock another space; it triggers the ending sequence, which is covered in detail in the Rehaunted ending walkthrough.
How to Progress Without Missing a Gating Clue
The Rehaunted how to progress question is mostly a question of attention, not skill, because the evidence board never punishes the player for slow play. The real risk is missing a gating clue on a first sweep, which forces a backtrack through a house that grows more hostile over time. Community testing on the Steam community hub suggests backtracking doubles the average completion time, so a structured sweep pays off quickly.
Recommended Sweep Order Per Room
| Step | Action | Why It Matters |
|---|---|---|
| 1 | Scan with the UV flashlight first | Surfaces hidden writing before other tools obscure the surface |
| 2 | Photograph any anomaly with the camera | The photo is the only evidence type that does not respawn |
| 3 | Magnify every printable object | Letters, recipes, and drawings register only through the magnifier |
| 4 | Use the walkie-talkie for dialogue prompts | Some gates are locked behind a dispatch call, not a physical clue |
| 5 | Check the evidence board before leaving | The board confirms whether the gate has opened before Connor walks back |
Common Reasons the Evidence Board Stalls
-
Wrong tool on a printable object: A letter read with the UV flashlight does not register as physical evidence, so the gate stays closed.
-
Camera angle off by a few degrees: Anomaly photos have a narrow sweet spot, and a tilted frame logs as "unreadable" rather than "anomaly."
-
Walkie-talkie dialogue skipped: Some gates only open after a specific dispatch line, and skipping the call leaves the room locked.
-
Backtracking into a room before the gate opens: The board does not preview which clue is gating, so the player must read every surface.
Reading the Evidence Board for the True Ending
The Rehaunted true ending walkthrough depends on three optional connective findings that the board accepts but does not require for progression. These connective findings do not open new rooms; they reframe the final conclusion in the Basement, which is why players chasing the true ending must backtrack the entire route once the board accepts them. According to community testing reported by players, the connective findings are easy to miss because they do not change the room order on the Rehaunted mission list.
The Three Connective Findings
| Connective Finding | Location | Tool | Board Effect |
|---|---|---|---|
| Dispatch Call Recording | Walkie-Talkie, after Hallway gate | Walkie-Talkie | Adds testimonial layer to the Bedroom journal page |
| Negative Photo Frame | Camera, Dining Room chandelier, second pass | Camera | Recasts the Kitchen burned recipe as intentional |
| UV Writing Translation | UV Flashlight, Living Room, second pass | UV Flashlight | Links the Attic tape to the Basement boiler |
Players who want a fuller breakdown of how these findings reframe the conclusion can pair this section with the Rehaunted bad ending reference, which lists the connective findings in the order that produces the alternate conclusions rather than the true one.
Why the True Ending Is Assembled, Not Chosen
According to the Rehaunted store page on Steam, the conclusion is assembled from the evidence board rather than chosen from a menu. The Rehaunted true ending walkthrough therefore rewards players who log the connective findings during the first sweep, because a second sweep through a hostile house is the most common reason players settle for a partial conclusion. The Basement does not present a choice screen; it reads the board state and renders the matching ending cutscene.
Speed Considerations for a Single Sweep
Players who want to clear the Rehaunted mission list in one uninterrupted sweep should plan for a 3 to 4 hour run, based on the average community completion time reported on the Steam community hub. The walkie-talkie prompts are the longest interactions, while the magnifier and camera prompts are short. The UV flashlight sweep is the most time-consuming per room, because the beam must cover every wall surface before the next tool is reliable.
| Section | Average Time | Bottleneck |
|---|---|---|
| Front Porch to Foyer | 10-15 minutes | Walkie-Talkie dialogue |
| Living Room to Dining Room | 60-90 minutes | UV and camera sweet spots |
| Hallway to Master Bedroom | 45-60 minutes | Magnifier on small objects |
| Attic and Basement | 30-45 minutes | Tape replay and final photo |
Players aiming for a fast clear can compare their splits against the Rehaunted speedrun guide, which uses a similar room list but skips the connective findings because the speedrun route is timed against the default ending rather than the true one.
Frequently Asked Questions
How long is the Rehaunted mission list?
The Rehaunted mission list contains ten rooms inside a single house, and a first-playthrough sweep typically runs 3 to 4 hours according to community data reported by players. Players who backtrack for the connective findings can expect an additional 60 to 90 minutes.
Does the Rehaunted how to progress route change after a first playthrough?
No. According to the official Steam store page, the case structure is fixed, and the evidence gates do not reshuffle between runs. The Rehaunted how to progress question therefore has the same answer on every playthrough, though the connective findings remain optional.
Can I see the Rehaunted story walkthrough in a chapter menu?
Cauchemar has not published an official chapter map, so the Rehaunted story walkthrough is reconstructed from the in-game evidence prompts and community testing. Players who prefer a chapter-style view can use the chapter list walkthrough as a parallel reference.
How does the Rehaunted ending walkthrough differ from the Rehaunted true ending walkthrough?
The Rehaunted ending walkthrough covers every conclusion the evidence board can assemble, while the Rehaunted true ending walkthrough focuses on the connective findings that reframe the Basement conclusion. Both routes share the same ten-room mission list; only the connective findings differ.
What happens if I miss a connective finding on the first sweep?
The evidence board accepts connective findings on a second sweep, but the house grows more hostile over time, so a backtrack is the most common cause of a partial conclusion. Players who want the true ending should log the connective findings during the first sweep rather than plan a return visit.