
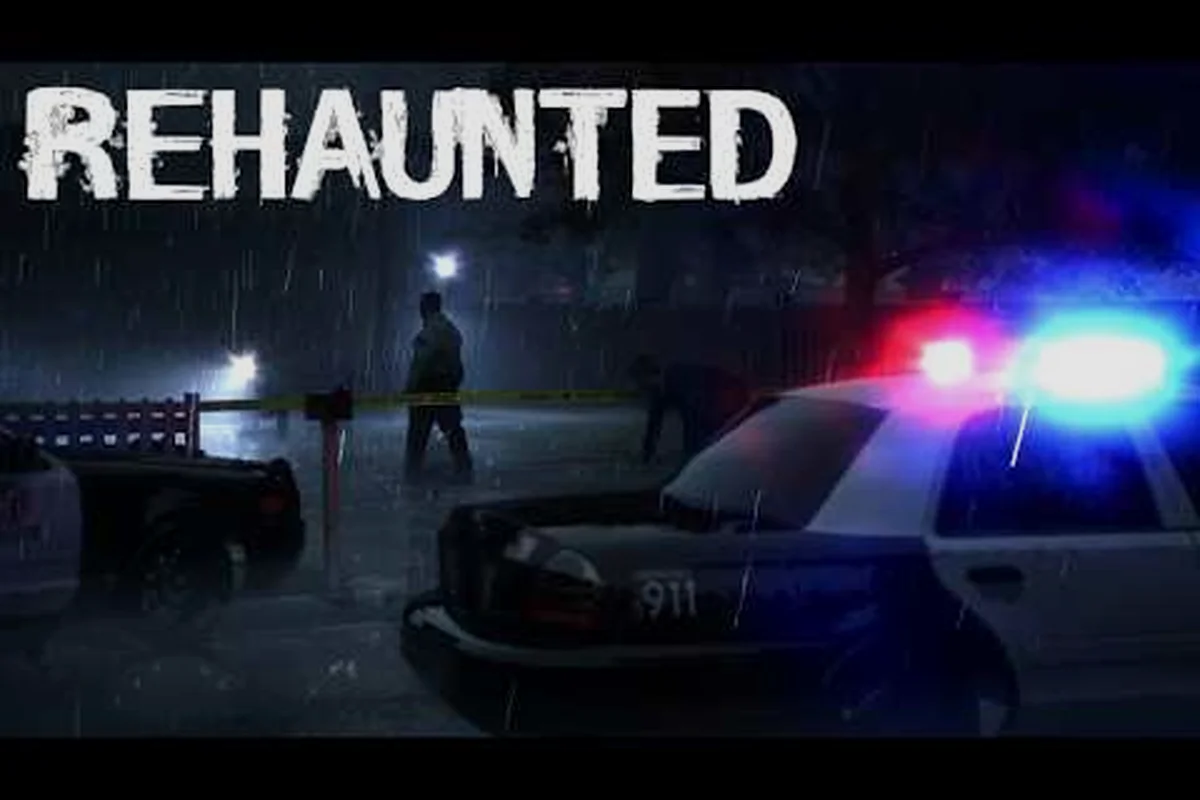
A complete Rehaunted 100% walkthrough has to clear the house room by room, sweep every evidence class, and finish at the correct ending without missing a single flag. The first run of Cauchemar Studio's detective horror loops the player through a single house, so the route works best when treated as an evidence-gated pipeline rather than a free-roam. This guide is built to take a fresh save from arrival at the front gate to the final case closure, including the chapters, collectibles, and ending decisions a 100% player needs.
How the 100% Route Is Structured
The 100% path is broken into three overlapping tracks that all share one save: a Chapter Track for story progression, a Collectible Track for personal belongings, anomalies, and hidden rooms, and an Ending Track that ties evidence thresholds to the finale you want. The order below assumes a single playthrough on Normal, with manual saves before every dialogue branch and every locked door.
| Track | What it covers | Where it fits |
|---|---|---|
| Chapter Track | Prologue → Chapter 7 | Drives the floor-by-floor movement |
| Collectible Track | Belongings, evidence, anomalies, photos | Runs parallel inside each chapter |
| Ending Track | Evidence threshold + final choice | Locks in during the final descent |
A practical 100% run usually takes 6-8 hours, depending on how often the player saves and reloads at the walkie-talkie dialogue branches. Treat the Rehaunted walkthrough part 1 segment as the "ground floor + first evidence drop" stretch, Rehaunted walkthrough part 2 as the "second floor + contradictions" stretch, and Rehaunted walkthrough part 3 as the "attic, basement, finale" stretch. The chapter 1 portion sets the tool discipline that the rest of the run depends on, so it is worth slowing down even if it feels short.
The Rehaunted walkthrough part 1 segment is also where most first-time players lose collectibles silently. The living room and the side study each hide one personal belonging and one anomaly trigger, and the locked door to the dining room only opens once a fingerprint + note pair is connected on the board. Walking past those without a UV pass is the single most common reason a 100% run falls back to 94% by the basement.
Prologue and Chapter 1 — Arrival, First Sweep, First Contradiction
The Rehaunted chapter 1 walkthrough opens with Connor Raines parked outside the house, dispatch crackling through the walkie-talkie, and a single body reported inside. The first room is staged, not exploratory: dispatch will radio a checklist, and the player is expected to UV the front door frame, photograph the front mat, and magnify the lock. None of those actions are optional for a 100% run because each one feeds at least one ending flag.
A full step-by-step video guide to clearing every chapter can be found on the Rehaunted Steam workshop, which demonstrates each puzzle solution and missable encounter in real time.
Tool setup for the first hour
Before touching the front door, the Tool Wheel should be set up so the UV Flashlight, Magnifier, and Camera are the three immediately accessible slots. The walkie-talkie lives on a separate key, and switching into it mid-scan costs more time than beginners expect. Players who set up hotkeys in this window consistently finish the chapter 1 sweep faster than players who reach for the wheel every time.
| Tool | First-hour use | 100% note |
|---|---|---|
| UV Flashlight | Blood on the door frame, faint writing in the hallway | Required for one anomaly |
| Camera | Front mat, the dispatch paper, the hallway light fixture | One photo is a hidden evidence |
| Magnifier | Lock scratch pattern, a smudge on the wall phone | Feeds the contradiction chain |
| Walkie-Talkie | Dispatch dialogue, branch to question vs. accept | Two branches change a flag |
The first contradiction arrives in the dining room. A smudged fingerprint sits on the cabinet, a note on the table claims the door was locked from the inside, and dispatch tells the player the victim lived alone. The contradiction board will only light up the "locked from inside" branch if both the fingerprint and the note are connected. Players who skip either item will reach the chapter 2 transition without that flag set, and the fix is to reload the Prologue save, not to start a new chapter.
Chapter 2 to Chapter 3 — Bedroom, Study, and the Hidden Door
Chapter 2 moves the player into the bedroom wing. The first door on the left hides a personal belonging under the mattress, and a UV pass on the headboard reveals an anomaly string that the chapter 3 evidence board will reference. The hallway outside the bedroom is where most players miss the second anomaly: a faint handprint on the wallpaper that only shows under UV and only at a specific camera angle.
The hidden door mechanic
The hidden door in the study is a chapter 2 → chapter 3 transition gate, and it is the most common save point for a 100% run because three branches split off behind it.
| Door state | Trigger | Downstream effect |
|---|---|---|
| Locked | Default after chapter 1 | Forces the bedroom → study order |
| Unlocked by code | Computer password in chapter 2 | Opens the second hidden room |
| Unlocked by key | Hidden key in the bedroom drawer | Opens the attic hatch early |
| Sealed | Connected a contradiction wrong | Locks both routes until a reload |
Once the door is open, the player has access to a small side room with a personal belonging, a photograph, and the mystery radio recording that becomes the chapter 3 main hook. That recording is also the only entry that talks back when the walkie-talkie is keyed to the same frequency, so the player should make sure the radio is set before walking in. The Rehaunted chapter list guide covers how each of these items feeds the overall flag map, but the short version is: a clean chapter 2 means all three room scans return at least one tagged item each, and a clean chapter 3 means the evidence board has at least four connected pairs before the player heads back downstairs.
Chapter 4 to Chapter 5 — Attic, Roof, and the Anomaly Chain
Chapter 4 is the first of the two "long" chapters and the one where a 100% run either stays on pace or starts to slip. The attic has three separate scan zones — the main truss, the far wall, and the small window — and each one carries its own anomaly. A clean attic sweep photographs all three, then UV-passes each one in sequence. Skipping the far wall is the most common miss, because dispatch is silent through that stretch and the player assumes there is nothing to do.
Anomaly chain order
The anomaly chain is fed by photograph + UV + walkie-talkie frequency in that exact order. If the player photographs first but does not UV, the chain stalls at "incomplete evidence." If the player UVs but does not photograph, the chain stalls at "missing visual record." If the walkie-talkie frequency is wrong, the chain silently resets. The correct order is:
| Step | Action | Failure mode |
|---|---|---|
| 1 | Photograph the truss | Skipping stalls the chain |
| 2 | UV pass the far wall | Wrong order stalls at "incomplete" |
| 3 | Switch walkie-talkie to frequency 3 | Wrong frequency resets the chain |
| 4 | Photograph the small window | Triggers the chapter 5 branch |
Chapter 5 begins the moment the anomaly chain completes, and the player is pulled down to the roof access. The roof access is short but it carries one personal belonging and one evidence item that both feed the basement chapter. The walk back down is also where dispatch finally breaks silence with the first line of the "second detective" dialogue, which is a separate flag from the anomaly chain.
Chapter 6 to Chapter 7 — Basement, Final Evidence, and the Ending Choice
The basement is the longest single stretch of the game and the most evidence-dense. There are four connected pairs that need to land on the board before the player is allowed to attempt the final lock, and two of those pairs sit behind a tool pass mechanic: a UV pass after the magnifier pass, not before. Doing them in the wrong order still produces evidence, but the board does not connect them, and the ending check at the locked door fails.
| Basement zone | Required pair | Wrong-order result |
|---|---|---|
| Cold storage | Fingerprint + blood trace | Board shows evidence, no connection |
| Workbench | Note + photograph | Triggers a dialogue but not the connection |
| Boiler room | Recording + UV mark | Spawns a ghost event, no evidence credit |
| Locked finale door | Key + dispatch transcript | Blocks the ending until both are in |
After the four pairs connect, the locked finale door opens and the player enters the final stretch. The final dialogue has three branches: accept the supernatural reading, reject the supernatural reading, or defer to dispatch. Each branch maps to a different ending, and the evidence count on the board decides whether the third branch is even available. A 100% run aims for the defer to dispatch branch, because it is the only one that keeps the "second detective" flag live and feeds the post-credits scene.
For a cleaner view of the run after the ending, the what to do after finishing guide covers New Game Plus behavior, carryover evidence, and which flags survive a replay. The short version: the deferred-ending flag survives, the supernatural-reading flag resets, and the reject-reading flag is the only one that does not feed any post-credits content.
Speed and Pacing Tips for the 100% Run
The biggest pacing wins on a 100% run are manual saves, walkie-talkie discipline, and never skipping a scan zone. A 100% run is rarely a single uninterrupted playthrough — it is a series of short, deliberate sweeps, each one saved before and after. Players who reload to chase a missed anomaly save more time overall than players who restart the chapter.
| Tip | Where it helps | Risk if ignored |
|---|---|---|
| Manual save before each locked door | Bedroom, study, attic hatch, basement | Reload to chapter start |
| Manual save before each walkie-talkie branch | Hallway, attic, finale | Branch is permanent for the save |
| UV pass after magnifier pass | Basement zones, attic far wall | Evidence does not connect |
| Photograph before UV | Attic chain, basement recording | Chain stalls or resets |
| Frequency set before entering | Hidden door, attic | Recording does not register |
The order above is the same order the developers reference in the dispatch radio scripts, and it is the order that produces a clean evidence board in a single run. Players who follow it consistently land in the 96-100% evidence range before the finale, and the remaining 0-4% is almost always a single anomaly or a single personal belonging in the basement. For deeper chapter-by-chapter detail, the chapter 2 walkthrough guide covers the early-mid swing in more depth.
Frequently Asked Questions
How long is the Rehaunted 100% walkthrough in real time?
A clean 100% run on Normal takes 6-8 hours for a first-time player and 3-4 hours for a second run that already knows where the anomalies sit. Players who save-scum around the walkie-talkie branches add about an hour, because each reload means re-walking the room the player just cleared. According to the official store page, the standard playthrough sits in that range as well, which is a useful reference point for planning a session.
What is the difference between Rehaunted walkthrough part 1, part 2, and part 3?
The three parts map to the three major sweep zones of the house: part 1 covers the ground floor and the first evidence drop, part 2 covers the bedroom wing and the contradiction chain, and part 3 covers the attic, basement, and the finale. Splitting the run that way also lines up with the autosave points, so each part is roughly the length of a single sitting. The chapter 1 walkthrough falls inside part 1, the chapter 4 walkthrough falls inside part 3, and part 2 covers the chapters in between.
Which ending is the "complete" one for a 100% run?
The defer to dispatch ending is the one a 100% run aims for, because it is the only branch that keeps both the "second detective" flag and the anomaly chain live. The supernatural-reading and reject-reading endings each close out one of those flags, and either one will block the post-credits content. Players who want the full ending set need to keep a separate save before the final dialogue and replay the finale twice, once for each branch that the 100% run did not pick.
Can the 100% walkthrough be done in one sitting without reloads?
Yes, but only if the player already knows the room layout. A blind first run almost always misses at least one anomaly in the attic and at least one personal belonging in the basement, and the only way to recover those without a reload is to backtrack through the chapter the player just finished. Players who are running the route blind should plan on at least one reload per major zone, and the safe plan is one reload per chapter.
Does New Game Plus carry over evidence for a faster 100% run?
No. New Game Plus carries over unlockable tools and walkie-talkie frequencies, but it resets all evidence, all personal belongings, and all anomaly flags. The intended 100% loop is to keep a single save on the deferred-ending branch, then start a fresh save for any alternate ending, rather than chaining New Game Plus runs together. According to community testing, the reset is consistent across patches, so the loop does not need to change between updates.