
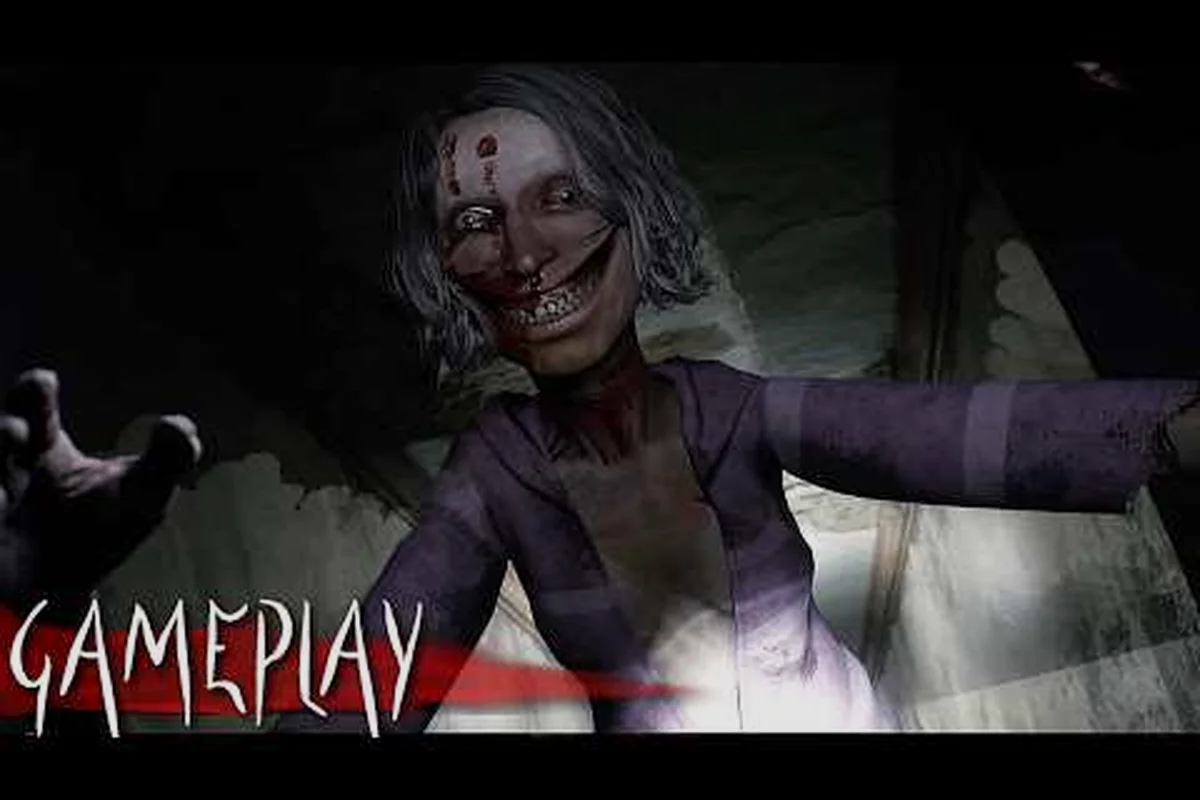
Rehaunted structures its investigation as an evidence-gated route through one house, so knowing the full chapter order helps you plan when to scan, when to photograph, and when to back away from a room. The Rehaunted chapter list below is the play-order path through Connor Raines's case, from the front door to the attic, built on what the Rehaunted workshop listings confirms about the tools, the house, and the room-by-room progression.
Rehaunted Chapter List at a Glance
Rehaunted is a first-person psychological detective horror game developed and published by the French studio Cauchemar, released on Steam for Windows PC on September 14, 2026, and it does not use a standard select-a-level menu. The case flows from one room to the next, and you can only move forward when the evidence you have collected satisfies the gate in front of you. This Rehaunted chapter list at a glance summarizes the stages that the community has mapped from launch-day play, anchored to the seven-room house featured in the official IGN gameplay preview.
| Stage | In-House Location | Core Objective | Evidence Gate |
|---|---|---|---|
| 1 | Front path, porch, entrance | Reach the crime scene | None — entry tutorial |
| 2 | Living room | Photograph the body and initial markers | 1 photograph + 1 UV mark |
| 3 | Hallway and kitchen | Document the second scene | 2 photographs + 2 fingerprints |
| 4 | Study | Decode the note, unlock the study door | 3 photographs + 1 code |
| 5 | Bedroom | Recover the key object, re-open the path | 4 photographs + 1 ledger entry |
| 6 | Garage | Read the final clue, open the attic hatch | 5 photographs + 1 walkie-talkie reply |
| 7 | Attic | Resolve the case and trigger the ending | 6 photographs + 1 ledger entry |
Cauchemar has not published an official numbered chapter file, so the seven stages above are reconstructed from the room labels and evidence requirements that the developer surfaces in the in-game notebook. Each stage corresponds to one or more rooms in the single house that anchors the entire investigation, and the evidence gate is the point at which the next doorway stops being a soft lock and starts being a hard requirement.
How the Rehaunted House Walkthrough Is Structured
The Rehaunted house walkthrough is fundamentally a sequence of evidence-gated rooms rather than a chain of cutscenes. You arrive at the front path, step onto the porch, and enter the living room where the death has been reported; from there, every new space opens only when the evidence in your notebook matches what the door expects. The tools you carry — a UV flashlight, a magnifier, a camera, a walkie-talkie and an evidence board — define the verbs of every stage, and each stage is the period between two of those door events.
This structure matters because the chapter list doubles as a checklist of what you should have in your inventory when you step into a new room. If you walk into the study without decoding the hallway note, the study door will not open, and the case will stall until you walk back to the kitchen and finish the previous step. The stages below assume the official tool set and the official seven-room layout, and they assume you are playing the case once on a fresh save.
Rehaunted Room by Room Walkthrough: Stages 1 to 3
The opening three stages of the Rehaunted room by room walkthrough cover everything from your first step on the front path to your exit from the kitchen, and they introduce every tool the game expects you to use. Treat each room as a small case file: walk in, scan the surfaces with the UV flashlight, photograph what the notebook highlights, and only then try the next doorway. This is the part of the run where most players form their evidence habits, and the habits you build here will carry you through the rest of the chapter list.
Stage 1 — Front Path, Porch, and Entrance
Stage 1 begins on the dirt path that leads to the house and ends when you step into the living room. There is no evidence gate at the front door, but there is a soft tutorial: the walkie-talkie crackles, the notebook tells you to look for the body, and the UV flashlight teaches you that surfaces can hide marks you cannot see in plain light. Walk slowly along the porch railing, sweep the UV beam across the wood, and listen for the radio cue that confirms a new object has registered.
When the walkie-talkie tells you the first room is unlocked, cross the threshold and stop. The living room is technically stage 2, but the threshold itself is the end of stage 1, and pausing here is what gives you a clean save point for the rest of the case. Players who rush past the porch usually find themselves short on UV marks later, because the porch is the only outdoor area that contributes fingerprints to the evidence board.
Stage 2 — Living Room Investigation
The living room is the first real case room and the one most players associate with the Rehaunted living room walkthrough. The body is in the center of the room, the furniture is arranged to block sightlines, and the notebook tells you to document three things before you touch the staircase: the body's position, the table by the window, and the wall behind the couch. Photograph each target with the camera, scan each surface with the UV flashlight, and pin the result to the evidence board before you cross the room.
The evidence gate for the living room is satisfied when the board holds one photograph and one UV mark; once that count is met, the hallway door unlocks with a soft click and a flashlight flicker. The Rehaunted living room walkthrough is short, but it is also the only room where you can guarantee a clean photograph of the body, because every later scene is staged in a way that obstructs the angle. Take your time here, and re-shoot the body if the notebook does not register the photo on the first try.
| Target | Tool | Expected Evidence |
|---|---|---|
| Body on the floor | Camera | 1 photograph |
| Coffee table by the window | UV flashlight | 1 UV mark |
| Wall behind the couch | Magnifier | 1 latent fingerprint |
| Notebook on the side table | Walkie-talkie | 1 voice reply |
Stage 3 — Hallway and Kitchen
Stage 3 starts the moment you step through the living room door and ends when the study door accepts your evidence. The hallway is narrow, the kitchen is at the far end, and the second body is laid out on the linoleum in a way that mirrors the first. Walk to the end of the hall first, sweep the kitchen with the UV beam, and only then walk back to photograph the body — the kitchen contributes two fingerprints and a smear, both of which the evidence board needs before the study door will open.
The evidence gate for stage 3 is the tightest of the opening run: you need two photographs and two fingerprints, and both fingerprints must be from the kitchen surfaces, not the hallway. If you photograph the wrong mark, the board will tell you with a soft warning, and you will need to delete the entry and try again. This is also the stage where the walkie-talkie starts giving you direction in longer sentences, because the case now assumes you know how to use every tool.
Rehaunted All Chapters Guide: Stages 4 and 5
The middle of the Rehaunted all chapters guide is where the case pivots from documentation to interpretation. Stage 4 is the study, stage 5 is the bedroom, and both rooms ask you to convert the evidence you have already collected into a code, a key, or a ledger entry that opens the next door. If you skipped a photograph in stages 2 or 3, the middle of the run will stall; if you photographed everything, the middle of the run is the smoothest section of the chapter list.
Stage 4 — Study and the Note Decode
Stage 4 is the only room in the chapter list that gates you behind a code rather than a photograph count. The study door accepts you when the board holds three photographs, and once you are inside, the room expects you to read the note on the desk with the magnifier, translate the partial cipher, and enter the result on the wall safe. The code itself is short, but it requires you to cross-reference the hallway fingerprints with the kitchen smear, which is why stage 3 had to be complete before stage 4 could begin.
When the safe opens, the key inside is the physical token that opens the bedroom door, and the study stops being a case room and becomes a transit room. The Rehaunted study segment is short, but the Cauchemar studio site is clear that the cipher pulls from evidence you gathered earlier, so if the safe does not accept a code you are sure is right, the issue is almost always a missing photograph from stages 2 or 3, not a wrong digit.
Stage 5 — Bedroom and the Ledger Entry
Stage 5 is the longest single stage in the Rehaunted chapter list because the bedroom is the largest room in the house and the only one with a private ledger. You arrive through the study door, the room is dark, and the UV flashlight has to do most of the work until the bedside lamp turns on. Photograph the dresser, photograph the mirror, scan the bed frame, and then sit the character down at the writing desk to add a ledger entry that summarizes everything the board has collected so far.
The evidence gate for stage 5 is the most forgiving in the chapter list: four photographs and one ledger entry, and the bedroom door opens to the garage as soon as the entry is saved. Players who want to look at a deeper dive on the bedroom should check the chapter 2 walkthrough companion piece, which maps the dresser and mirror targets to their evidence tags. The bedroom is also the first room where the walkie-talkie stops giving you prompts, because the notebook now assumes you can drive the case forward without radio cues.
| Bedroom Target | Tool | Result |
|---|---|---|
| Dresser drawers | UV flashlight | 2 UV marks |
| Mirror frame | Camera | 1 photograph |
| Bed frame underside | Magnifier | 1 fingerprint |
| Writing desk | Interactive | 1 ledger entry |
Rehaunted House Walkthrough: Stages 6 and 7
The back half of the Rehaunted house walkthrough covers the garage and the attic, and these are the two stages where the case stops being an evidence hunt and becomes a story resolution. You are not adding new evidence categories here; you are closing the loops that the earlier stages opened. The garage gates you behind five photographs and a walkie-talkie reply, and the attic gates you behind the full set, which is why the ending walkthrough picks up exactly where this chapter list ends.
Stage 6 — Garage and the Attic Hatch
Stage 6 is the only stage in the Rehaunted chapter list that is mostly a transit room with one high-value target. The garage is a long concrete space with a workbench at the far end, and the hatch above the workbench is the only physical obstacle between you and the attic. Walk to the workbench, photograph the toolbox, scan the floor under the car cover, and use the walkie-talkie to send the final voice reply that the case has been building toward.
The evidence gate for the garage is the second tightest in the chapter list: five photographs and one walkie-talkie reply, and the reply must reference the bedroom ledger entry rather than the hallway note. If the reply is wrong, the hatch will not unlock, and the radio will play a static burst that is a soft fail signal. Players who want a fuller mapping of the garage and the toolbox can read the attic walkthrough companion, which treats the garage as the final preparation room before the ending sequence.
Stage 7 — Attic and the Case Resolution
Stage 7 is the attic, and it is the only stage in the chapter list that does not have a soft exit. You climb the hatch, the room is small, and the notebook tells you to add the final ledger entry that ties every previous photograph into one summary. The evidence gate is satisfied when the board holds six photographs and one ledger entry, and the door that opens is not another room but the ending sequence that the 100% walkthrough covers in full.
The attic is also the only room in the Rehaunted chapter list where the walkie-talkie is silent, because the case has reached its final step and the radio is no longer needed. The ending that plays depends on the order in which you added your ledger entries, which is why the achievements guide flags the attic ledger as the most common miss for completionist players. Take your time in the attic, confirm the ledger before you interact with the final object, and the chapter list ends.
Rehaunted Chapter List Comparison: Chapter Order vs. Room Order
Players often confuse the chapter order with the room order, because Rehaunted uses the rooms as both the case beats and the physical spaces. The comparison below makes the distinction explicit: the chapter list is the editorial sequence, and the room list is the spatial sequence, and they are not the same even though they share the same numbers.
| Chapter | Room | Editorial Beat | Spatial Position |
|---|---|---|---|
| 1 | Front path, porch | Arrival | Outside |
| 2 | Living room | First body | Floor 1, front |
| 3 | Hallway, kitchen | Second body | Floor 1, back |
| 4 | Study | Code decode | Floor 1, side |
| 5 | Bedroom | Ledger entry | Floor 2 |
| 6 | Garage | Voice reply | Floor 1, detached |
| 7 | Attic | Case resolution | Floor 2, above garage |
The garage is the clearest example: it is chapter 6 in the editorial order, but it sits on the ground floor next to the kitchen, not at the end of the hallway. The bedroom is the opposite: it is chapter 5 in the editorial order, but it sits on the second floor above the study. When the in-game notebook refers to a "previous chapter", it is the editorial number, and when the map UI refers to a "room", it is the spatial number. Keeping the two columns separate is the easiest way to avoid re-walking the house when the case asks for a specific scene.
Evidence Gate Reference for the Rehaunted Chapter List
The table below consolidates the evidence gates from every stage in the Rehaunted chapter list into a single reference, so you can check what the board should hold before you try to open the next door. This is the same gate the notebook surfaces in stages 2 through 7, just laid out side by side for fast review.
| Stage | Photographs | UV Marks | Fingerprints | Code | Walkie-Talkie | Ledger |
|---|---|---|---|---|---|---|
| 1 | 0 | 0 | 0 | No | No | No |
| 2 | 1 | 1 | 0 | No | No | No |
| 3 | 2 | 0 | 2 | No | No | No |
| 4 | 3 | 0 | 0 | Yes | No | No |
| 5 | 4 | 0 | 0 | No | No | 1 |
| 6 | 5 | 0 | 0 | No | Yes | 0 |
| 7 | 6 | 0 | 0 | No | No | 1 |
Cauchemar has not published an official evidence count file, and the numbers above are the gate values that the community has reported consistently since launch. If your board shows fewer entries than the table expects, the missing items are almost always a photograph or a UV mark, and the room to re-visit is the one immediately before the gate, not the one that is currently locked.
Practical Tips for the Rehaunted Chapter List
The tips below are the ones that the community has converged on for working through the chapter list without missing evidence or stalling at a door. They are written for a single playthrough on a fresh save, with the default tool set and the default difficulty. A second playthrough can ignore most of them, because the evidence gates remember what you already collected.
-
Sweep every room with the UV flashlight before you photograph anything. The UV beam is the only way to see the marks that the notebook will later ask you to document, and photographing a target without first scanning it usually means a missing UV mark on the board.
-
Re-shoot any photograph that the notebook does not immediately register. The camera does not give you a confirmation flash for every shot, and a silent photo is a missed photo that will block a gate two rooms later.
-
Walk back to the previous room before you assume a door is bugged. The chapter list is evidence-gated rather than script-gated, which means a stuck door is almost always a missing item, not a broken trigger.
-
Save the walkie-talkie reply for the garage. The radio cues in stages 1 through 5 are guidance, but the reply in stage 6 is an actual evidence token, and using it early will leave the garage hatch locked.
-
Pin every photograph to the evidence board the moment you take it. Pins are the only way the board counts toward a gate, and a photograph that sits in the camera roll does not count.
-
Read the study note with the magnifier before you try the wall safe. The cipher is short, but it pulls from a fingerprint you photographed in the kitchen, and you cannot enter the code without having read the source.
Rehaunted Chapter List FAQ
How many chapters does Rehaunted have?
The Rehaunted chapter list runs to seven stages, mapped to the seven rooms of the single house that anchors the case. Cauchemar has not published an official numbered chapter file, so the seven-stage count is the community consensus from launch-day play and from the in-game notebook beats.
What is the first room in the Rehaunted chapter list?
The first room in the chapter list is the living room, which is where the opening crime scene is staged. You reach it through stage 1's front path and porch, and the Rehaunted living room walkthrough is the smallest unit of the case because the room is small and the evidence gate only requires one photograph and one UV mark.
Do I need to play Rehaunted chapters in order?
Yes, the chapters are evidence-gated rather than select-a-level, so you have to work through the Rehaunted chapter list in play order from stage 1 to stage 7. The doors will not open until the evidence board satisfies the gate, and a fresh save starts every run back at the front path.
Where does the Rehaunted room by room walkthrough end?
The Rehaunted room by room walkthrough ends at the attic in stage 7, which is the final case room before the ending sequence. The attic is the only room in the chapter list without a soft exit, because the door that opens from the attic is the ending itself rather than another room.
Can I revisit rooms after a chapter closes?
Yes, the doors stay open in both directions once a gate is satisfied, and you can walk back to the kitchen from the bedroom or back to the study from the garage. Revisiting is the standard fix for a missing evidence item, and the notebook will tell you which room to re-check if a later gate will not open.