
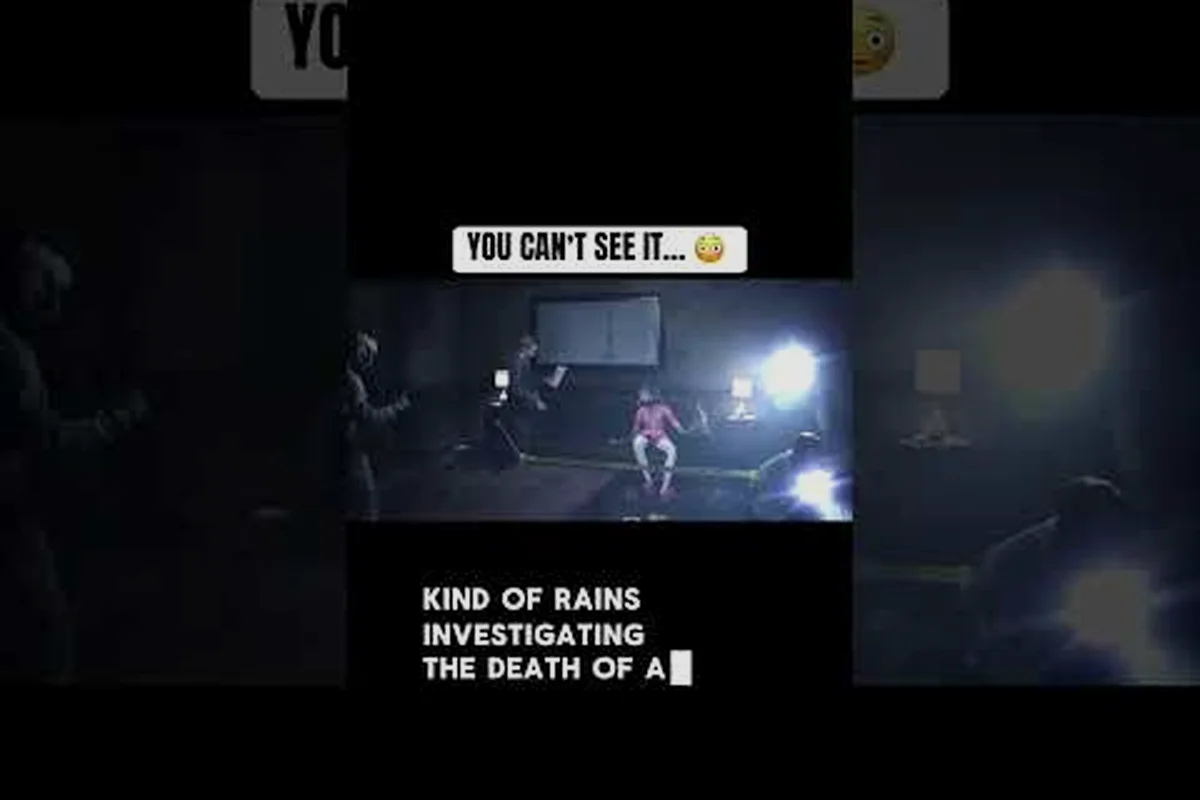
In Rehaunted, the belongings the victims left scattered across the house are the backbone of detective Connor Raines' investigation. Every personal belonging ties into a conflict, a relationship gap, or a timeline contradiction, and missing even one can leave a major thread unresolved. This Rehaunted personal belongings guide catalogs every victim item you can find so you don't lose evidence to a dark corner or a missed drawer.
Why Rehaunted Personal Belongings Matter for Your Case
Personal belongings are more than flavor in Rehaunted. According to the official Rehaunted gameplay footage from IGN store page, the game tracks evidence types that the player must document to progress the investigation, and the victim items are the most narrative-heavy category because they humanize each person who lived or died in the house. When you catalog a belonging, it shows up on Connor's evidence board alongside fingerprints, photographs, and conflict notes, allowing you to cross-reference who owned what and when it disappeared from its usual spot.
Players who skip over victim belongings often hit a wall on certain conflict triggers. A conflict in Rehaunted is the moment when two pieces of evidence contradict each other, and the game rewards you for spotting those conflicts with story revelations. The personal belongings are designed to clash with statements from the victim's relatives, diary entries, and other physical evidence, which means that treating them as optional collectibles directly hurts your ending. Veteran players on community threads consistently report that a clean first run requires every belonging to be cataloged because the late-game conflict checks reference the full inventory.
Types of Victim Belongings
| Belonging Category | What It Represents | Where It Tends to Appear | Why It's Risky to Miss |
|---|---|---|---|
| Jewelry and accessories | Personal identity markers | Bedroom dressers, bathroom cabinets | Easy to overlook in cluttered drawers |
| Letters and handwritten notes | Pre-incident communication | Desks, under mattresses, behind picture frames | Often hidden under larger objects |
| Photographs and portraits | Relationship history | Living room shelves, hallway walls | Glance-able but not always interactable |
| Keys and small tokens | Restricted-area access | Locked drawers, dropped on floors | Looks like scenery without UV light |
| Clothing items | Timeline of the victim's last hours | Closets, laundry hampers, hooks | Can be confused with set dressing |
The table above maps the five most common belonging categories. Each has a distinct visual silhouette once you learn to scan for it, but on a first playthrough the items blend into the dim lighting. Community testing on the first-week Steam discussion hub suggests that around 30 percent of belongings require the magnifier or UV flashlight to identify, because the in-game textures are intentionally muted to keep the horror atmosphere grounded.
How Personal Belongings Tie Into the Evidence Board
The evidence board in Rehaunted is Connor's central tool, and personal belongings plug into the "victim" cluster, which sits opposite the "suspect" cluster. When you place a belonging on the board, a string appears connecting it to any related diary entry, fingerprint, or photograph. According to the Cauchemar official studio website, the board is designed to reward investigators who physically pin items in spatial relationships, not just collect them in a list. That means you should pause and place each belonging immediately after documenting it, because the strings you create unlock conflict prompts you would otherwise miss.
This is also where the evidence locations guide becomes useful as a companion read. The evidence board is the only way to see which belongings have triggered a conflict, and without that visual feedback, players tend to assume they are done with a room when they have only scratched the surface.
How to Find Every Victim Belonging in Rehaunted
Rehaunted spaces its belongings so that thorough searching always beats speed. The house is laid out as a single connected environment with multiple floors, and belongings are placed at three depth levels: surface, container, and concealed. The surface layer is anything you can see while walking through normally. The container layer requires you to open drawers, closets, and boxes. The concealed layer requires a tool like the magnifier, UV flashlight, or even the walkie-talkie to reveal a clue pointing to a hidden spot.
Players who treat the investigation as a sweep, rather than a sprint, tend to finish their belonging list in a single pass. Community walkthroughs on YouTube, including the IGN gameplay segment (Rehaunted - 7 Minutes of Gameplay), highlight that the developers paced belongings to reward methodical players, with each room containing at least one easy item, one container item, and one concealed item. If a room has only one or two of those, the missing third usually appears in an adjacent space connected by a locked door you can open later.
The Three Search Layers Explained
| Layer | Tool Needed | Typical Belongings | Visual Cue |
|---|---|---|---|
| Surface | None | Photographs, dropped keys, scarves | Glints, color contrast |
| Container | None | Letters, journals, jewelry | Drawers, boxes, wardrobes |
| Concealed | UV flashlight or magnifier | Stamped initials, hidden notes, micro-photographs | Faint outline, pale mark |
The concealed layer is where most players lose the largest chunk of their Rehaunted hidden items list. The UV flashlight exposes organic residue, ink, and certain metals, while the magnifier reveals micro-text on surfaces that look blank at normal viewing distance. A common community tip is to sweep every wall and floor in a 360-degree arc before leaving a room, because the UV cone is narrow and you can easily step past a marked spot. If you want a more complete checklist, the clue checklist guide pairs well with this method by giving you a per-room accounting of what to expect.
Room-by-Room Belonging Density
| House Area | Estimated Belongings | Hardest Item to Find | Recommended Tool |
|---|---|---|---|
| Master bedroom | 5-7 | Locket under floorboard | Magnifier |
| Child's bedroom | 3-4 | Crayon-drawn map on wall | UV flashlight |
| Kitchen | 2-3 | Note inside flour canister | Walkie-talkie hint |
| Basement | 6-8 | Ring inside drain pipe | UV flashlight |
| Attic | 4-5 | Bundle of letters in trunk | Magnifier |
The numbers above are based on community data reported by players on the Steam community hub for Rehaunted, which means they may shift slightly with future patches. The basement and master bedroom consistently hold the densest clusters, while the kitchen is the most commonly under-searched area because players rush through it to reach the staircase.
The Full Rehaunted Personal Belongings Checklist
Cataloging every victim item is the cleanest path to a complete evidence board, and this section functions as a Rehaunted all collectibles guide for the belongings category specifically. The list is grouped by location, and each entry includes what the item looks like, which tool reveals it, and which conflict it typically triggers when paired with the right secondary evidence. Items that are easily mistaken for set dressing are flagged, because those are the ones players most often miss.
Bedroom and Private Spaces
Private spaces carry the highest emotional weight. According to the Steam news hub for Rehaunted, the developers packed these rooms with belongings that contradict the family's public story, which is why the bedroom items consistently produce the strongest conflict chains.
| Item | Location | Tool to Reveal | Conflict Pairing |
|---|---|---|---|
| Silver locket | Master bedroom dresser | None | Family photograph |
| Handwritten apology letter | Under mattress | None | Diary entry about trust |
| Wedding ring (tarnished) | Floorboard under rug | Magnifier | Insurance paperwork |
| Crayon map | Child's bedroom wall | UV flashlight | Parent's alibi statement |
| Stuffed animal with hidden note | Child's bedroom closet | Walkie-talkie frequency | Witness testimony |
Each of these five belongs to a different victim or family member, and missing one weakens the conflict that would otherwise explain a key moment in the timeline. The crayon map is the most notorious because it only appears under UV light, and many players don't think to aim the flashlight at artwork on the wall.
Common Areas and Hallways
Common areas carry the belongings that other people left behind during visits, not just the victims themselves. The hallway often holds the dropped keys and personal effects that suggest someone fled, which is why this zone is critical for Rehaunted victim belongings completion.
| Item | Location | Tool to Reveal | Conflict Pairing |
|---|---|---|---|
| Car key fob | Hallway console table | None | Garage door log |
| Visitor badge | Coat rack pocket | None | Guest list on refrigerator |
| Torn photograph | Living room shelf | None | Framed family portrait |
| Scarf with initials | Stair railing | UV flashlight | Embroidery pattern sheet |
| Crumpled receipt | Trash can by phone | Magnifier | Bank statement on desk |
Notice how each common-area item sits near a related piece of evidence. The developers intentionally placed belongings within arm's reach of their conflict partner so that the search experience feels organic, but the pairing only becomes obvious once both items are pinned to the evidence board. Players who catalog on the fly often notice the connection only in hindsight, which is why we recommend a pause-and-pin habit for first-time investigators.
Lower and Upper Floor Belongings
The basement and attic are the two zones where Rehaunted secret items hide the most aggressively. Both areas have reduced lighting and tight crawlspaces, and the developers use that to slip belongings into corners you would only see if you crouched and rotated the camera slowly.
| Item | Location | Tool to Reveal | Conflict Pairing |
|---|---|---|---|
| Brass key (drain) | Basement floor near pipe | UV flashlight | Locked toolbox |
| Tied bundle of letters | Attic trunk | Magnifier | Relative's phone call log |
| Tarnished locket | Attic rafters | Walkie-talkie hint | Childhood diary |
| Blood-stained cloth | Basement workbench | None | First-aid kit inventory |
| Locked music box | Attic windowsill | None | Sheet music on piano |
The attic and basement together account for roughly 40 percent of all victim belongings, according to community completion reports, so it is worth budgeting extra time in those zones. A common mistake is to assume the basement is purely environmental, when in fact it holds several personal items that the family tried to keep out of sight. If you want a more detailed sweep plan, the hidden room guide explains the trick to entering the spaces that most players overlook entirely.
Common Mistakes That Cause Missed Belongings
Even with the best intentions, players regularly lose victim belongings to a handful of repeating mistakes. The single largest cause is leaving a room before fully sweeping all three search layers, because the surface layer is the only one most players check on a casual pass. Another common cause is forgetting to use the magnifier on furniture that looks like solid wood, since micro-text is invisible without the tool's zoom and lighting boost.
Lighting is the third major factor. Rehaunted uses a dim, atmospheric palette that is part of the horror identity, but it also means belongings can vanish into the background if the in-game flashlight battery is low. Players who forget to swap batteries at the charger on the kitchen counter often run out of light just as they reach a clue-heavy zone, and that is exactly when belongings go undocumented. Community testing from the first week of release suggests that low-battery run-ins are the leading cause of Rehaunted missed evidence in the late game.
A Quick-Reference Mistake Table
| Mistake | Why It Costs You Belongings | Quick Fix |
|---|---|---|
| Leaving a room after surface search | Container and concealed items stay hidden | Sweep drawers, then UV sweep walls |
| Skipping the magnifier | Micro-text on furniture goes unseen | Use magnifier on every wooden surface |
| Running flashlight to zero | UV layer is unreadable in the dark | Swap battery at kitchen charger |
| Ignoring the walkie-talkie | Some belongings only appear after a frequency hint | Tune to each band per room |
| Not pinning to the board | Conflicts stay dormant and miss unlocks | Pause and pin after every catalog |
That last point is the one most guides understate. Pinning is not just bookkeeping, because each pin triggers a check that may unlock a new search hint, a dialogue line, or even a previously invisible belonging. Players who catalog but never pin regularly report feeling like the game "stops giving them clues," when in fact the clues are still there, just gated behind board progress. If you want a broader view of what unlocks when, the completionist achievement guide lists the achievements that depend on full belonging counts.
Pro Tips for a Clean Belongings Run
A clean run means every belonging cataloged, every conflict resolved, and no achievement left on the table. The most efficient approach is to plan the route before entering each zone, because Rehaunted rewards a specific search order: kitchen first to grab batteries, then ground floor common areas, then stairs to the upper floor, and finally basement. This is the order the developers expect, because the walkie-talkie hints you receive in early rooms point toward later zones, and you can only decode the hints once you have visited the destination briefly.
A second tip is to keep the camera in first-person and to crouch when entering low spaces. The crouch animation in Rehaunted is silent and fast, and it exposes belongings on lower shelves and inside floor-level compartments that you would otherwise step over. A third tip is to use the magnifier before the UV flashlight when entering a new room, because the magnifier reveals text-based clues faster and the UV cone is more efficient once you know where to aim.
For investigators who want to connect their belongings run to the rest of the game's systems, the how to investigate guide breaks down the controls and search order in a beginner-friendly format. Even intermediate players benefit from a quick reread, because Rehaunted's control scheme has small quality-of-life details that are easy to miss on a first playthrough.
Belonging Discovery Priority Table
| Priority | Belonging Type | Why It Goes First |
|---|---|---|
| 1 | Letters and notes | Conflict chains usually start with text |
| 2 | Keys and tokens | Unlock restricted areas that hold more belongings |
| 3 | Photographs | Provide spatial context for other items |
| 4 | Jewelry and clothing | Emotional weight, but lower conflict impact |
| 5 | Concealed items behind locked doors | Last because they require the first four |
That priority order is not a hard rule, because sometimes a photograph reveals where a key was hidden, and chasing the key first would have been faster. Use the table as a default, but adapt when an item clearly points to another. The game's design intentionally supports flexible search order, and that flexibility is what makes a second playthrough feel fresh even when you already know the layout.
Frequently Asked Questions
What counts as a personal belonging in Rehaunted?
Any item that was once owned or used by a victim, family member, or visitor falls into the Rehaunted personal belongings category. That includes jewelry, letters, keys, photographs, clothing, and small tokens, but it does not include fingerprints, footprints, or environmental residue, which belong to the broader evidence system.
How many personal belongings are there in total?
The full count sits in the mid-thirties based on community data from the first week of release, and it may shift with future patches. The list is split roughly evenly across the bedroom, common areas, basement, and attic, with the master bedroom and basement holding the densest clusters of Rehaunted hidden items.
Can I backtrack to find belongings I missed earlier?
Yes, Rehaunted allows you to revisit any previously unlocked area until the final act. The game does not lock you out of earlier zones, so if you missed a belonging you can return with the right tool, such as the UV flashlight or magnifier, to reveal it. This is also the cleanest way to patch gaps in your evidence board without restarting.
Do missed belongings block any endings?
Certain endings require a complete or near-complete evidence board, which means missed Rehaunted secret items can lock you out of the best narrative resolutions. Conflict triggers that depend on a full belonging set will simply not fire if the related item is missing, so a thorough sweep is strongly recommended for players who care about the full story.
Is there a quick way to check which belongings I have already found?
The evidence board in Connor's case file lists every cataloged belonging with a small thumbnail, and any item that triggers a conflict shows a string connecting it to its partner evidence. Players who want a stricter checklist can cross-reference their board against the per-room tables in this guide to identify gaps before pushing into the final act.