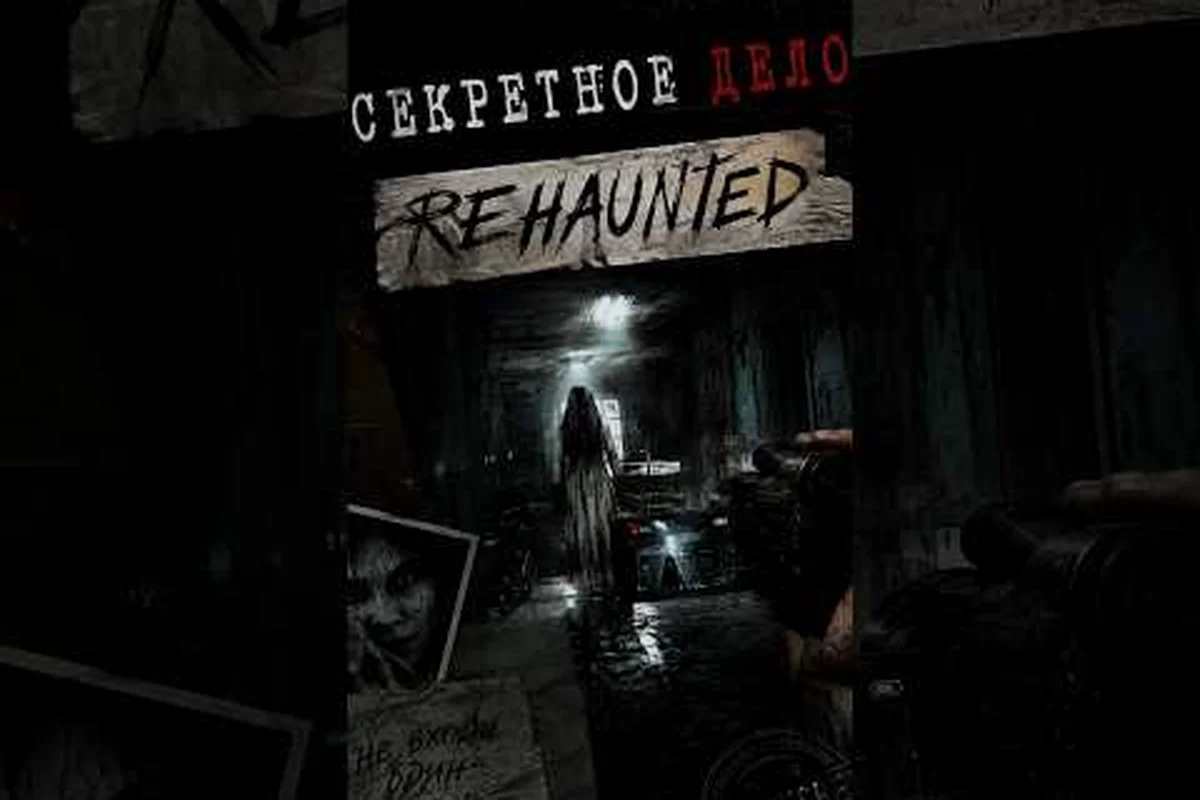
Rehaunted hands you five instruments on day one, and the entire investigation pivots on knowing which one fits the clue sitting in front of you. In this psychological detective horror game from studio Cauchemar, detective Connor Raines works a single house with a UV flashlight, magnifier, camera, walkie-talkie, and an evidence board — match the wrong tool to the wrong material and the case stalls.
The Rehaunted detective tools at a glance
Rehaunted is built around a tight tool loop: you spot something suspicious, you reach for the right instrument, and you log what you see. The five Rehaunted detective tools are designed to cover different evidentiary surfaces — glowing residue, written notes, distant details, voice contact, and case-wide pattern tracking.
| Tool | Best for | Evidence type revealed | Unlock timing |
|---|---|---|---|
| UV Flashlight | Dark rooms, blood, fluids | Luminescent residue, hidden writing, fingerprints | Available from Chapter 1 |
| Camera | Mid-range clues, wall markings, photos the game requires | Symbols, scrawled text, scene capture for the case file | Available from Chapter 1 |
| Magnifier | Close inspection of picked-up items | Fine print, scratch marks, small symbols on objects | Available from Chapter 1 |
| Walkie-Talkie | Communication with your partner outside the house | Voice prompts, hints, dialogue branches | Available from Chapter 1 |
| Evidence Board | Case-wide organization | Connecting clues, reviewing collected evidence | Unlocks after first 2-3 clues logged |
According to the Rehaunted Steam reviews, all five instruments drive the investigation loop from the opening scene, so the learning curve is less about unlocking gear and more about learning when each tool is the right call. Community data on the Rehaunted Steam community hub confirms that players who swap tools early solve puzzles with fewer backtracks.
How the Rehaunted flashlight works for hidden evidence
The Rehaunted flashlight guide is where most new detectives trip up, because this is no ordinary torch — it is a UV flashlight tuned to a specific wavelength. The regular white beam on Connor Raines' hip handles navigation in the dark, but the violet UV mode is what makes biological traces and chemical residue pop on walls, floors, and fabric. Players regularly report missing entire clue chains because they tried to read a smeared message with white light instead of switching modes.
Switching between white and UV light
The flashlight has two states, and the game does not always flag which one a scene needs, so players default to whichever beam was active when the chapter started. The standard pattern, based on community testing across the Cauchemar studio's network-issues-patch beta branch, is to swap modes the moment a room contains reflective liquid, chalk outlines, or a note that fails the context-check prompt — signals that map directly to UV-only interactions in the detective equipment guide. White mode handles the rest: reading printed text, scanning furniture placement, and clearing the first scripted scare in each apartment. Missing that swap is the single most common cause of soft-locks in Chapter 3 and 5, where the trigger zones for hidden spectral residue sit on walls the overhead lamp already lit, making UV findings easy to walk past.
-
White light for reading printed text, checking room layout, and avoiding the first scripted scare moments.
-
UV light for traces of blood, cleaning fluid, invisible ink on notes, and any surface that looks "too clean."
The official Cauchemar studio site flags the UV mode as the tool players underuse most. If you want a deeper walkthrough of switching and when each mode applies, the Rehaunted equipment guide goes through battery issues and mode toggles in detail.
Common UV-light mistakes to avoid
A few patterns come up repeatedly in player reports. The flashlight has a limited battery that drains faster in UV mode, so spamming the violet beam through empty hallways will leave you dark at a critical moment. Save UV for surfaces you have already inspected with the white beam and suspect of hiding traces. If the beam starts flickering mid-investigation, the Rehaunted tools not working page covers the most common battery and bug causes.
How to use the Rehaunted camera and when to pull it out
The camera in Rehaunted is not a screenshot tool — it is a primary investigation instrument. Pulling the camera up zooms the view through a viewfinder, which is how you read small symbols on the far wall, photograph evidence for the case file, and trigger several scripted puzzle beats. The official Rehaunted on Steam listing calls the camera out as one of the two instruments most newcomers forget to use.
Picking the Right Instrument Per Surface
Use the camera when a clue is more than arm's reach away and too small to read with the naked eye. The Rehaunted how to use the camera guide covers the full photo loop, but the core decision rule is simple: if you cannot get close enough for the magnifier and the clue is on a vertical surface, raise the camera. It also captures scenes that get added to the evidence board for cross-referencing.
Camera quirks reported by players
Players report that the camera has a brief focus lag when swapping from a dark room to a UV-lit surface, so frame your shot, hold steady for about a second, and only then snap. The IGN seven-minute gameplay video demonstrates the camera in action during the early chapters and is a good reference for the rhythm of raising, focusing, and capturing.
The Rehaunted magnifying glass for close-up inspection
The Rehaunted magnifying glass is your inspection tool for everything already in your hand or pinned on a wall within reach. The magnifier is the most direct of the Rehaunted all tools because it does not depend on lighting conditions — it zooms in on fine print, etched symbols, scratches, and tiny details on picked-up objects. When the game wants you to study an item closely, the magnifier is almost always the answer.
When to reach for the magnifier
A good rule, supported by community testing: if you have just picked something up or are looking at an object pinned to a board, the magnifier handles it. The camera handles distance; the magnifier handles proximity. If the in-game prompt suggests you "look closer," that is the magnifier's cue. A more thorough breakdown of inspection flow sits in the Rehaunted detective equipment guide, which pairs the magnifier with the evidence board for cataloging items.
Magnifier vs. camera: a quick decision table
| Situation | Use the magnifier | Use the camera |
|---|---|---|
| Note on a desk you just picked up | Yes | No |
| Symbol scratched on a far wall | No | Yes |
| Detail on a photo you just captured | Yes | No |
| Writing on a door across the room | No | Yes |
| Fine print on an evidence board pin | Yes | No |
This logic works because the magnifier requires close physical proximity to render fine detail, so it shines on items you can already hold, flip, or angle in your hands. The camera, by contrast, is built for distance — it captures any glyph, scuff, or scrawl the moment it falls inside its viewfinder, saving you the walk back to the evidence board. After snapping the photo, you can even re-examine the high-res image with the magnifier to read handwriting that was illegible at range.
The walkie-talkie and evidence board: the two support tools
The walkie-talkie and the evidence board do not inspect surfaces — they organize the case. The walkie-talkie connects you to your partner outside the house, and the evidence board is where collected clues get pinned and connected. Both are part of the Rehaunted tool list because the investigation loop does not close until clues are linked.
Using the walkie-talkie for hints and dialogue
The walkie-talkie triggers voice prompts, occasional warnings, and branching dialogue with your partner. The game uses it to nudge you toward the right tool when you are stuck, so if you have been circling the same room with no progress, calling in tends to surface a hint about whether the next clue needs UV, the magnifier, or the camera. The walkie-talkie also gates some dialogue choices, which feed into the achievement list. Players chasing 100% achievements should keep an eye on these branches — the Rehaunted all achievements page tracks which dialogue paths award completion credit.
The evidence board as a case-wide tracker
The evidence board unlocks once you have logged two or three clues, and it acts as the visual map of the case. Pins link related evidence, and a connected board is often the trigger for the next chapter. Treat the board as a checkpoint: if you have three or more pins and nothing new has happened, you probably missed a clue somewhere in the house, and the loop resets with a fresh sweep.
Putting the Rehaunted tool list together: a practical workflow
Knowing the Rehaunted all tools roster is only useful if you have a repeatable workflow for moving through a room. Most experienced players, based on community data, settle into a four-step rhythm that exercises every tool in the correct order.
The four-step investigation sweep
-
Scan with white light to map the room and read printed text. Note any surfaces that look suspiciously clean.
-
Sweep the same surfaces with UV light, sparingly, to catch luminescent residue. Save battery by targeting only suspicious spots.
-
Pick up or approach anything flagged and switch to the magnifier for fine print, or to the camera for anything across the room.
-
Log the clue, then check the walkie-talkie for hints if the next step is unclear, and pin the evidence to the board.
Quick tool-order cheat sheet
| Clue type | First tool to try | If that fails |
|---|---|---|
| Glowing residue or stains | UV flashlight | Camera (zoom on the residue) |
| Far-wall writing or symbols | Camera | UV flashlight (some marks are UV-reactive) |
| Item in hand | Magnifier | Camera (for a wider context shot) |
| No new progress for 5+ minutes | Walkie-talkie | Evidence board (review pins) |
| Three or more unconnected pins | Evidence board | Walkie-talkie (unlock hint dialogue) |
This four-step pattern covers the majority of puzzle beats reported in the Rehaunted Steam news hub. If you find yourself cycling the same tool three times in a row without progress, that is the strongest signal you should swap to a different instrument.
Tips for getting the most out of every Rehaunted tool
A few habits separate a clean first playthrough from a backtrack-heavy one, and they map directly onto how Rehaunted's tool rotation expects you to think. None of these are advanced tricks — they are simply the patterns that experienced players settle into once they have run the investigation loop a few times, with the most reliable cues coming from the walkie-talkie dialogue and the evidence board's pin prompts rather than from brute-forcing every ghost with the magnifying glass. The result is a tighter sweep where each flashlight charge, camera shot, and UV pass earns its place in the sequence.
-
Switch tools on a timer, not on a hunch. If you have been using the same tool for more than 90 seconds without new information, the next instrument is almost always the right move.
-
Watch the flashlight battery. UV drains it faster than white light, and a dead flashlight during a chase sequence is a common cause of restart loops. The Rehaunted flashlight guide covers charging pickups and battery conservation.
-
Photograph everything the prompt allows. The camera is required for several in-game progressions, and missing a forced photo moment is a common cause of soft-locks.
-
Pin early, pin often. The evidence board's connection prompts often surface hints you would otherwise miss, and a connected board tends to trigger chapter transitions faster.
-
Use the walkie-talkie as a soft hint system. If dialogue hints at a specific tool, that is a near-guarantee you should switch to it before doing anything else.
These are the patterns that show up in the most-cited community threads and in the IGN gameplay preview: a strict 90-second rotation between the UV flashlight, camera, and magnifying glass, a willingness to spend two extra photo shots on the dining-room mirror even when the prompt is borderline, and reading the walkie-talkie lines as a literal checklist before committing to a tool. Combined with the four-step sweep and the battery-awareness habits outlined above, that consensus behavior is enough to carry a first playthrough to completion without major backtracks, and it also builds the muscle memory that the optional contracts on Chapter 3+ assume you already have.
Frequently Asked Questions
What are all the Rehaunted detective tools available in the game?
Rehaunted ships with five tools from the start: a UV flashlight, a magnifier, a camera, a walkie-talkie, and an evidence board. None are locked behind progression gates, so the full Rehaunted tool list is available to detective Connor Raines from the opening chapter of the investigation.
How do you use the Rehaunted camera effectively?
Raise the camera through the viewfinder to read small symbols on far walls, photograph clues for the case file, and trigger several scripted puzzle beats. Hold the camera steady for about a second after switching to a UV-lit surface because the lens needs a brief moment to focus in low light.
When should I switch to UV mode on the Rehaunted flashlight?
Switch to UV when you have already scanned a surface with white light and it looks too clean, or when the room is dim and you suspect luminescent residue. UV drains the battery faster than white light, so save it for surfaces you have already flagged rather than sweeping entire rooms with it.
What does the Rehaunted magnifying glass reveal that other tools miss?
The magnifier is built for close-range inspection of items already in your hand or pinned to a wall, and it surfaces fine print, etched symbols, and scratches that the white flashlight beam does not pick up. It works independently of lighting conditions, which makes it reliable in dark rooms where the camera viewfinder would struggle.
Can I replay Rehaunted with a different tool order for new achievements?
The full Rehaunted all tools set is available from the start, so tool order is a choice rather than a progression path. New Game+ runs do not gate tools further, but the dialogue branches triggered through the walkie-talkie can award different achievements, so a different play style still produces different completion credit.