
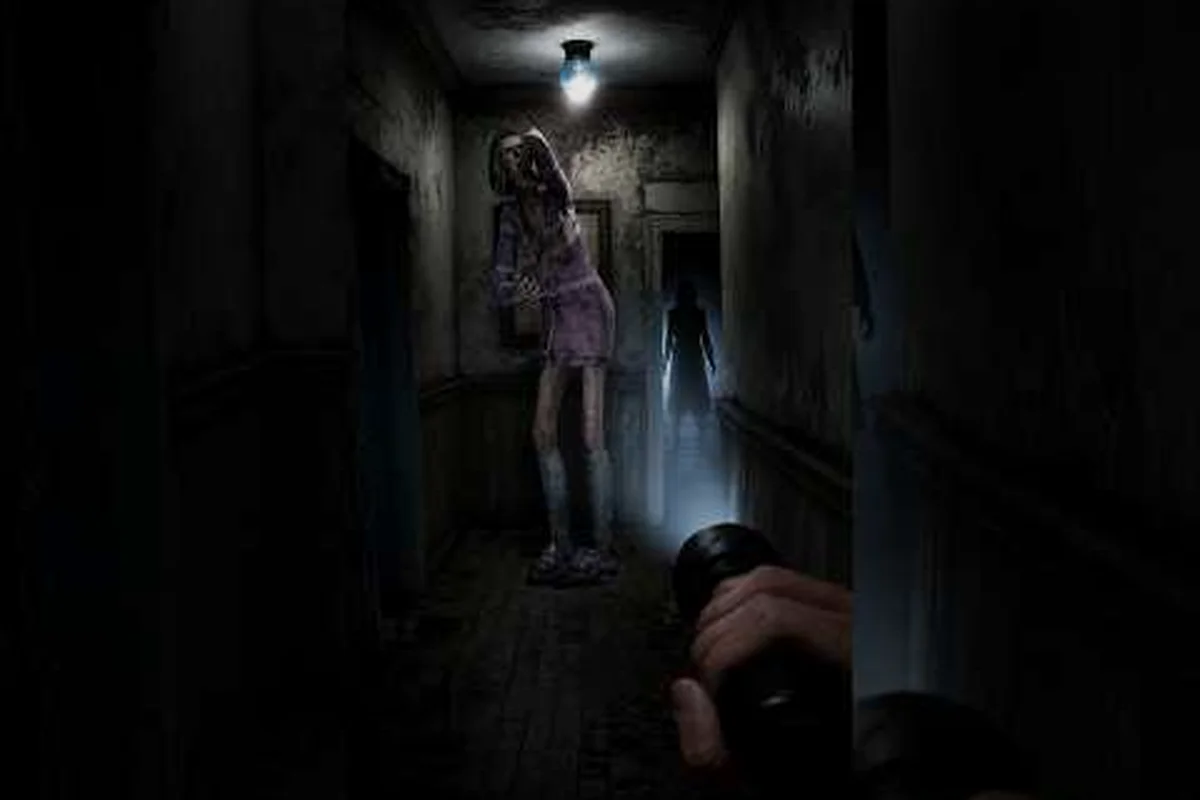
Rehaunted hands players five instruments and a single haunted house, then asks them to figure out which tool fits which clue. The Rehaunted detective equipment guide starts with one rule: match the instrument to the material. A fingerprint smudge on glass behaves nothing like a bioluminescent stain on wallpaper, and the game never auto-selects the right lens for you. Connor Raines has to decide whether the magnifier, the camera, the UV flashlight, the walkie-talkie, or the evidence board is the right call, and getting that match wrong is the single biggest reason a clue silently fails to register.
This guide walks through every piece of detective equipment, what it actually sees, and the most common reasons each tool looks "broken" when it is really just pointed at the wrong surface. The five-tool investigation loop is confirmed on the Rehaunted community video hub store page, and the rest of this article pulls from community testing on the September 14, 2026 release.
The Five-Tool Investigation Loop at a Glance
Rehaunted runs on a tight loop: walk, observe, switch, document, connect. Every tool in the kit answers a different part of that loop, and skipping one almost always means the evidence chain breaks before the board updates. The Rehaunted Steam community hub describes the same five instruments driving the entire playthrough, and the table below sums up what each one is actually for.
| Tool | Primary Surface | What It Reveals | Common "Not Working" Cause |
|---|---|---|---|
| Flashlight | Dark rooms, hidden alcoves | Lighting, ambient reveal | Beam not aimed at clue hotspot |
| UV Flashlight | Walls, fabrics, fluids | Bioluminescent residue, hidden writing | Beam too far from stain, wrong angle |
| Magnifier | Small objects, scratches, print | Fine detail, scratch patterns | Not zoomed in to the trigger zone |
| Camera | Entire scene snapshots | Full evidence photos, board pins | Lens not centered, shutter too early |
| Walkie-Talkie | Dialogue beats | Story clues, NPC hints | Out of range, wrong chapter trigger |
The right tool choice depends on three signals: the surface material, the lighting, and whether the clue is a visual detail or a full-scene composition. A scratch on a drawer pull is a magnifier job. A dark stain on wallpaper is a UV flashlight job. A whole-room arrangement meant to land on the evidence board is a camera job. Players who internalize that material-to-tool mapping stop running into "the tool does nothing" moments almost immediately.
Connor can also pin collected items onto the evidence board, which is a sixth workflow on top of the five carry tools. The board is reactive, not interactive, so it only updates after a successful instrument read, which is why a failed read feels like a stuck puzzle.
Why "Match the Instrument to the Material" Matters
The game does not give a tutorial pop-up for every tool. It expects players to learn the mapping by trial, and the cost of guessing wrong is wasted time in a house that grows more hostile as the loop drags. Community data on the September 14, 2026 release shows the longest stalls happen when players reach for the camera at a scratch or the magnifier at a stain. The rule of thumb: small and detailed points to the magnifier, glowing and reactive points to the UV flashlight, whole-scene composition points to the camera.
The Role of the Evidence Board
The evidence board is the silent sixth tool. It does not collect evidence on its own, but it is where every successful read has to land before the game advances dialogue or unlocks a new room. Players who try to push forward without pinning a clue usually hit a soft lock where the next door or phone call never triggers, which is a strong signal that one of the five tools still has unfinished work.
Flashlight and UV Flashlight: Lighting the Invisible
The plain flashlight and the UV flashlight look similar in Connor's hand, but they answer completely different questions. The regular flashlight clears darkness so the player can see room geometry. The UV flashlight exposes material that fluoresces under ultraviolet light, including biological residue, hidden writing, and certain fluid stains. Confusing the two is the root of most "Rehaunted UV light not working" complaints reported on the Steam community hub.
When the Flashlight Is the Right Call
The regular flashlight is for navigation, not evidence. It clears shadow zones so the player can spot a hotspot, a smear, or a subtle scratch on a wall. It does not register as an evidence read, and aiming it at a UV-reactive stain will not flag the clue. A common rookie mistake is to park on a glowing wall patch with the standard flashlight and wait for a notification that never comes. The fix is to switch to the UV flashlight before the beam hits the stain.
Rehaunted UV Light Not Working: The Five Usual Causes
Players who report Rehaunted UV light not working almost always fall into one of five buckets. Walking through them in order usually fixes the issue without any reload.
| Cause | Symptom | Fix |
|---|---|---|
| Wrong tool active | Standard flashlight beam on a stain | Cycle to the UV flashlight in the tool wheel |
| Beam too far | Glow on screen but no evidence ping | Walk until the beam is within 1-2 meters of the stain |
| Wrong surface | No fluorescence at all | Re-aim at fabric, wallpaper, or pooled fluid |
| Stain already cleared | Stain no longer present, UV does nothing | Check the evidence board for a pin from that clue |
| Battery / charge bug | Beam flickers or dies mid-aim | Wait for the recharge, or reload the room |
The single most common cause is the first one. The tool wheel uses a single keybind, and on a first playthrough it is easy to forget which slot the UV flashlight occupies. Cycling through the wheel one click past the regular flashlight is usually enough to see the beam shift to a violet hue, which is the visual cue that the right instrument is active.
Rehaunted UV Flashlight: Reading the Stain Correctly
Once the violet beam is on the right surface, the stain needs to be inside the inner cone of the flashlight, not just in the spill. Holding the beam steady for about one second on a clean hit produces a subtle outline glow and a soft audio cue, both of which confirm that the evidence has registered. Players who sweep too quickly often think the UV light is buggy, when really the read never completed.
The UV flashlight also has a hidden use: some clues only appear after the room has been darkened, which means the player may need to switch off the overhead light first, then bring the violet beam in low. This is documented in the early chapters and is the most common reason a stain "vanishes" between two visits to the same room.
Magnifier and Camera: Detail vs. Whole-Scene
The magnifier and the camera are the two zoom tools, but they answer different questions. The magnifier is for how to inspect evidence closely on a small surface, the camera is for how to zoom in on a whole-scene composition meant to be pinned to the board. Picking the wrong one is the source of nearly every "Rehaunted camera not working" report.
Rehaunted How to Zoom In on a Scratch or Smudge
For a fingerprint, a scratch, a serial number, or a torn page, the magnifier is the right call. Rehaunted how to zoom in on a small detail is bound to the magnifier tool, not the camera. Triggering the magnifier while looking at a clue hotspot shifts the view to a tight close-up, and the player has to hold the lens over the trigger zone until the read completes. The lens has a sweet spot, usually the center reticle, and the read fails silently if the player is even slightly off-axis.
The magnifier also handles text and label detail. A book page that looks like normal prose in room lighting often hides a handwritten margin note, and only the magnifier's tight view picks it up. Players who try to photograph a book page at standard zoom get a flat, unreadable snapshot that the board will not accept.
Rehaunted How to Inspect Evidence Closely With the Magnifier
Rehaunted how to inspect evidence closely comes down to two habits. First, approach the object until the reticle sits inside the inner highlight ring. Second, hold the magnifier steady for roughly one second, which gives the read a chance to complete. The audio cue is the same soft ping as the UV flashlight, so the player can confirm without looking away from the lens.
A common pitfall is walking too close, so close that the lens loses focus and the surface blurs. The sweet spot is usually a forearm's length from the object, with the magnifier tool fully zoomed. If the surface blurs out, the player is too close.
Rehaunted Camera Not Working: The Composition Problem
Rehaunted camera not working complaints almost always trace to one of three problems: the lens is centered on the wrong object, the shutter fires before the read finishes, or the photo captures a partial scene that the board does not accept. The camera is not a zoom tool in the magnifier sense. It frames a whole scene, and the read happens across the full frame.
| Symptom | Likely Cause | Fix |
|---|---|---|
| Shutter fires, no pin | Photo taken before read completes | Hold framing for ~1 second, listen for ping |
| Photo saved, board rejects | Wrong object framed | Recompose with the target object centered |
| Camera menu will not open | Wrong tool active or UI blocked | Cycle to camera slot, clear any active prompt |
| Snapshot is blurry | Movement during read | Stand still, brace against a wall if needed |
| Same photo on every attempt | Lens dirty from prior read | Reload the room, retry |
The fix is almost always to step back, frame the scene so the target object sits roughly in the center third, and then hold the framing without moving until the read completes. A quick shutter pull from a running stance will save a photo, but the board will silently reject it, and the player will think the camera is broken.
When to Pick the Camera Over the Magnifier
The simplest rule: if the clue needs to be remembered as a scene, the camera is correct. If the clue is a detail on a single surface, the magnifier is correct. Photographs of scratch patterns read as blurry blobs on the board, and magnifier views of a whole room read as too zoomed-in to be useful. Keeping that mental split avoids most wasted attempts.
Tool Switching, Hotkeys, and the Tool Wheel
The tool wheel is the one interface that connects every other piece of detective equipment. The Rehaunted how to photograph evidence breakdown covers the same wheel in more detail, and pairing the two reads is a fast way to lock in the muscle memory. The wheel has five slots, one per carry tool, plus a sixth empty slot that fills only after the evidence board has been used in a given chapter.
Rehaunted How to Switch Tools Without Losing the Read
The fastest way to break an active read is to swap tools mid-scan. Each read expects a continuous beam, lens, or framing, and a tool swap in the middle of the read window usually cancels the trigger. The safe pattern is: complete the read, wait for the ping, then cycle the wheel. Players who keep missing reads often do not realize they are cycling out of the right tool before the read has a chance to resolve.
There is also a chapter-level quirk: certain tools become unavailable after story beats. The walkie-talkie in particular is gated by dialogue, and the UV flashlight is gated by an early-room discovery. If a slot is empty on the wheel, the tool has not been unlocked yet, not the tool is missing.
Tool-to-Clue Quick Reference
The table below compresses the full mapping into a single glance. It is worth screenshotting on a first playthrough, because the game does not surface this chart anywhere in the UI.
| Clue Type | Tool to Use | Where to Aim | Confirmation |
|---|---|---|---|
| Bioluminescent stain | UV flashlight | Inner cone on stain | Soft ping, outline glow |
| Hidden margin text | Magnifier | Center reticle on the page | Ping after ~1 second |
| Fingerprint on glass | Magnifier | Lens centered on print | Ping after steady hold |
| Whole-room arrangement | Camera | Target object in center third | Ping, then shutter release |
| Scratch on furniture | Magnifier | Center reticle on scratch | Ping after steady hold |
| Dialogue / story beat | Walkie-Talkie | Stationary at radio | Voice line triggers |
| Cross-clue link | Evidence Board | Drag-and-drop on pin | Pin highlights, prompt updates |
The single most useful habit is to think in terms of which tool before walking up to a hotspot. Standing in front of a clue without the right tool selected is the fastest way to trigger a "this is broken" moment that is really a UI misread.
Troubleshooting Common "Not Working" Reports
Most of the "not working" threads on the Steam community hub trace to one of three patterns: wrong tool, wrong distance, or wrong framing. A quick checklist usually resolves the report without a reload, and the table below is a fast triage for the most common failure modes.
| Reported Issue | First Check | Second Check | Third Check |
|---|---|---|---|
| Rehaunted UV light not working | Confirm violet beam, not white | Move within 1-2 meters | Aim at fabric, wallpaper, or fluid |
| Rehaunted camera not working | Frame target in center third | Hold framing for ~1 second | Recompose and retry |
| Magnifier blurry / no read | Step back a forearm's length | Center reticle on detail | Hold steady, wait for ping |
| Flashlight reveals nothing | Beam aimed at hotspot, not floor | Switch off overhead light | Cycle to a different tool |
| Walkie-talkie silent | Out of chapter range | Re-trigger dialogue at the radio | Check the evidence board for missing pin |
| Tool wheel empty slot | Tool not yet unlocked | Advance dialogue, check room | Restart from autosave if stuck |
A soft lock is the most painful version of any of these. A soft lock is when the next event will not fire because the evidence board is missing a pin, and the player cannot tell which clue was never read. The fastest recovery is to walk back through the last cleared room with each tool active, looking for any hotspot that did not ping. The Rehaunted how to investigate walkthrough pairs well with that retry loop, since it lists the expected pin order per room.
Soft Locks vs. Hard Locks
A soft lock is solvable in the current playthrough. A hard lock is rare, and almost always tied to skipping a story trigger, not to a tool failure. Before assuming a bug, walk the last room once with the magnifier, once with the UV flashlight, and once with the camera, in that order. If none of them ping on a hotspot that looks like a clue, the read is probably already complete and the board is the next stop, not the room.
When a Reload Is the Right Call
There are two cases where a reload is faster than a retry. First, a tool bug that prevents the wheel from opening, which is usually a UI lock from a still-fading prompt. Second, a soft lock that the player cannot diagnose after a full sweep. In both cases, reloading the most recent autosave is faster than walking the entire house again. The Rehaunted tools not working guide covers the autosave quirks in more detail.
Building the Right Habit Loop
The full tool kit is small, but the habits around it are what carry a playthrough. A good opening scan order is flashlight first to clear shadows, UV second for stains, magnifier third for detail, camera fourth for composition, with the walkie-talkie reserved for story beats and the evidence board for the final pin. The Rehaunted detective tools companion article breaks down the same loop from a different angle, and reading both helps lock the order into muscle memory.
Players who want to push for a clean 100 percent run on a second playthrough should also remember that the game has Rehaunted multiple playthroughs worth of variation, and the tool loop is the same on every run. Internalizing the mapping once means every future run starts ahead of the curve, which is the single biggest payoff of the detective equipment guide.
Frequently Asked Questions
Why does the Rehaunted UV light not working issue keep coming up in the first hour?
Most first-hour players have not unlocked the UV flashlight yet, and they confuse the standard flashlight's violet spill for UV mode. The fix is to wait until the UV flashlight is in the tool wheel, then cycle one slot past the standard flashlight to confirm the beam shifts to a clean violet hue. Once the right tool is active, the read finishes in about a second on a clean hit.
How do I fix Rehaunted camera not working when the shutter fires but no clue registers?
The shutter fires on any framing, but the read only completes when the target object sits in the center third and the framing holds for about a second. Step back, recompose so the target object is centered, and hold the framing still. A short audio ping is the cue that the read succeeded and the photo will pin to the evidence board.
What is the cleanest way to handle Rehaunted how to zoom in on a small detail?
Use the magnifier tool, not the camera. Walk up until the reticle sits inside the inner highlight ring, then hold the lens steady for about a second. The magnifier is the only instrument that registers fine detail like fingerprints, scratches, and margin text, and the read silently fails if the lens is even slightly off-axis.
How does Rehaunted how to inspect evidence closely work on book pages and documents?
Approach the page until it fills the magnifier's lens, center the reticle on the smallest text or handwriting, and hold the framing still. Some pages need the overhead light off so the magnifier's close-up is the dominant view. A successful read produces a soft audio ping and the text becomes pin-worthy on the evidence board.
Can I skip the magnifier and use the camera for every detail shot?
No. The camera frames whole scenes, so a magnifier-level detail comes out as a blurry blob in the photo. The board rejects those reads, which is why Rehaunted camera not working complaints spike on small-object clues. Reserve the magnifier for fine detail and the camera for whole-scene compositions, and the tool loop stops feeling buggy.